I’ve been trying to establish a baseline exposure for the aquatint screen. In my earlier session I had a lot of trouble getting consistent results and good ink transfer. After considering a long list of hypotheses, my conclusion is that my almost empty jar of ink was too old and its gummy consistency was playing havoc with my plate wiping.
For this evening’s session, I decided to eliminate as many variables as possible. By the end of the evening, I got some good plates that printed pretty well, but I was still not able to get the density of blacks that I can reliably attain with SolarPlate.
One top theory is that the Akua Mars Black which I used for the SolarPlate tests has greater optical density or better wiping characteristics than the Akua Carbon Black that I have been using with the ImagOn. This will be easy to investigate once I get another jar of Mars Black.
The other theory is that the ImagOn emulsion simply cannot hold as much ink as SolarPlate because it is only 50 microns thick, versus SolarPlate which is almost a millimeter. The main evidence supporting this hypothesis is that I get my greatest density when the channels in the plate go all the way to the plastic.
I am printing on the smooth side of dry Masa paper, so I’m pretty sure that the Imagon will give adequate blacks on wet Rising Stonehenge, but I would still like the ability to get fully saturated transfers on dry paper if possible as using dry paper will help me with multi-plate registration by eliminating paper expansion and contraction due to moisture levels.
My next experiment will be to determine the proper baseline exposure for the second exposure. Once I nail that exposure I can proceed with a standard PDN calibration.

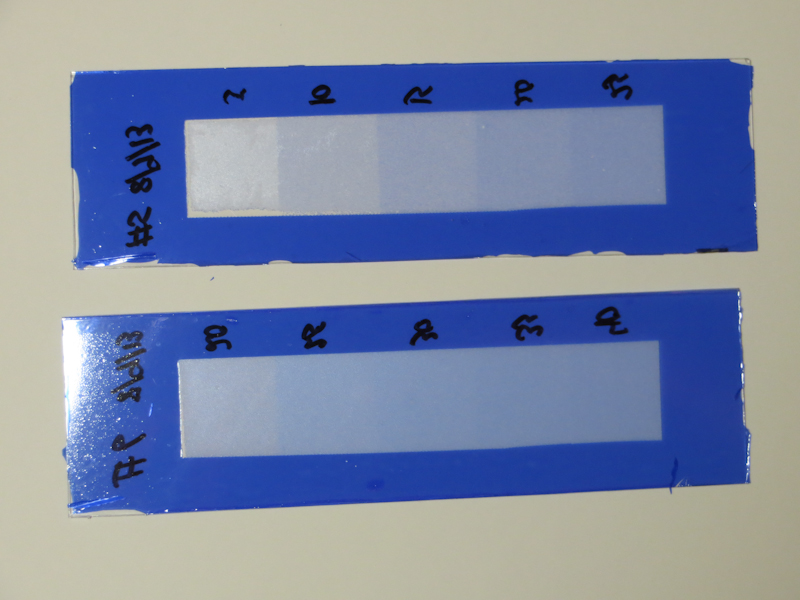
I has having a lot of problems with my previous test strips that used a single exposure, simultaneously through the Stouffer wedge and the aquatint screen. For this evening’s experiments I eliminated some variables. Instead of using the Stouffer wedge, I went old school and used a strip of cardboard to create a sequence of exposure times. I also increased the size of the exposed blocks to 1″ square and I added a fully exposed margin to simplify the plate wiping.

In this closeup of the two test strips side by side you can see the overexposed margins that I added to simplify wiping. I found it was really helpful to make bigger plates with one inch square steps. My Stouffer wedge has 1/4″ x 3/4″ steps which are sometimes hard to evaluate.

This is a closeup of a dual exposure plate from my last session. I exposed once with the aquatint screen and then a second time with the Stouffer wedge. In this example, the aquatint is underexposed. You can see this in the region around the numbers which is solid black on the Stouffer wedge. For this area to print black, it will need a more robust dot structure to avoid an open bite. It is interesting that an underexposed aquatint screen can still make fairly dense halftones as you can see on the right. Also, note that the underexposed aquatint has led to an uneven dot pattern on the right.

This step is underexposed to the point of open bit. Here the aquatint screen has produced a field of isolated islands. With more exposure, the islands will merge and make a field of holes and channels. Another indication that this plate is underexposed is the bare plate on the left. At this level of exposure it is very easy to lose the emulsion entirely.


