Big Plate On The Big Press

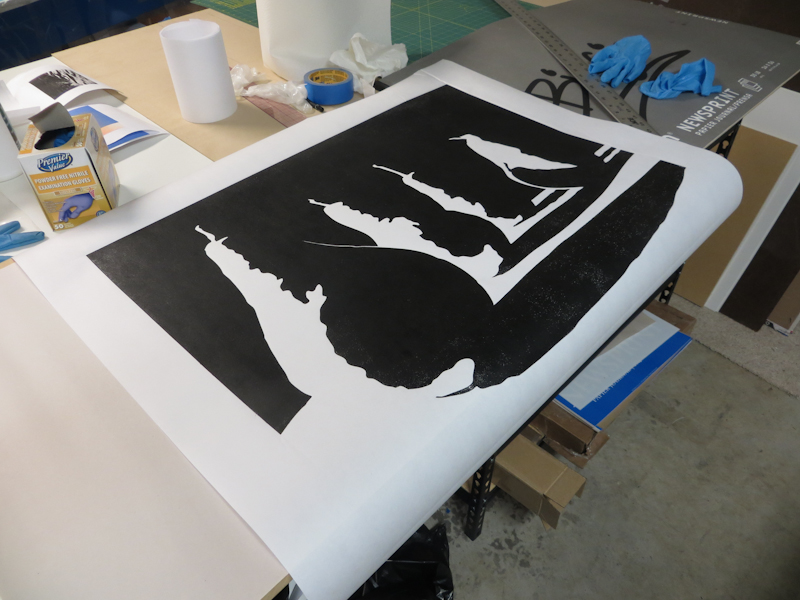
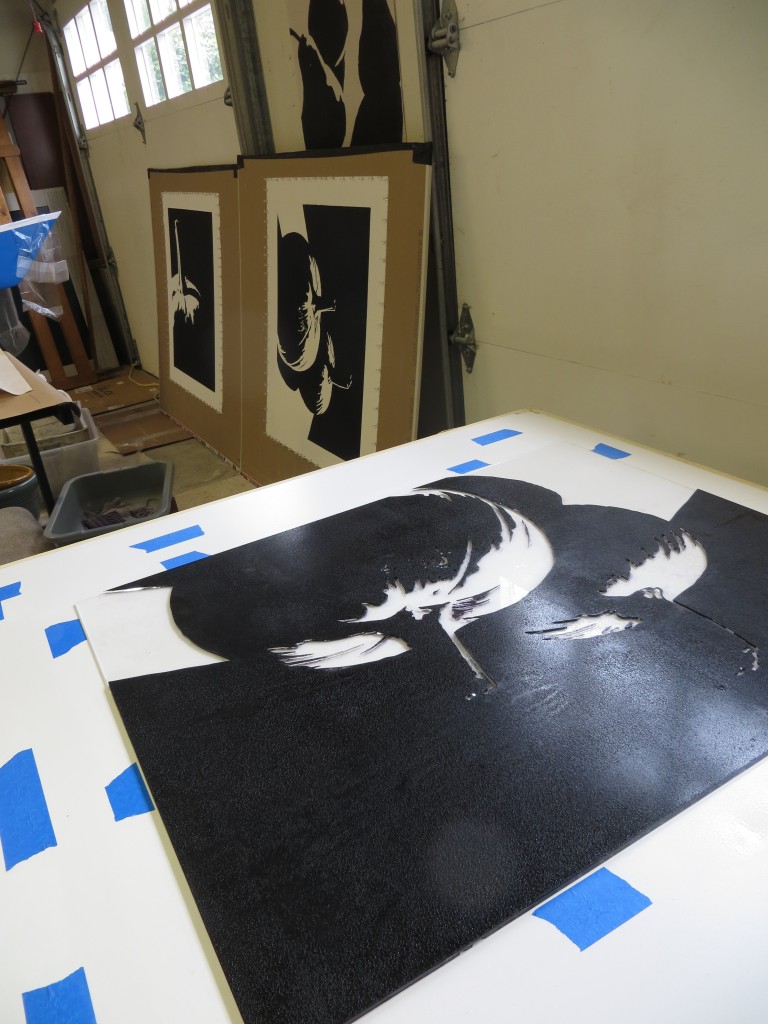
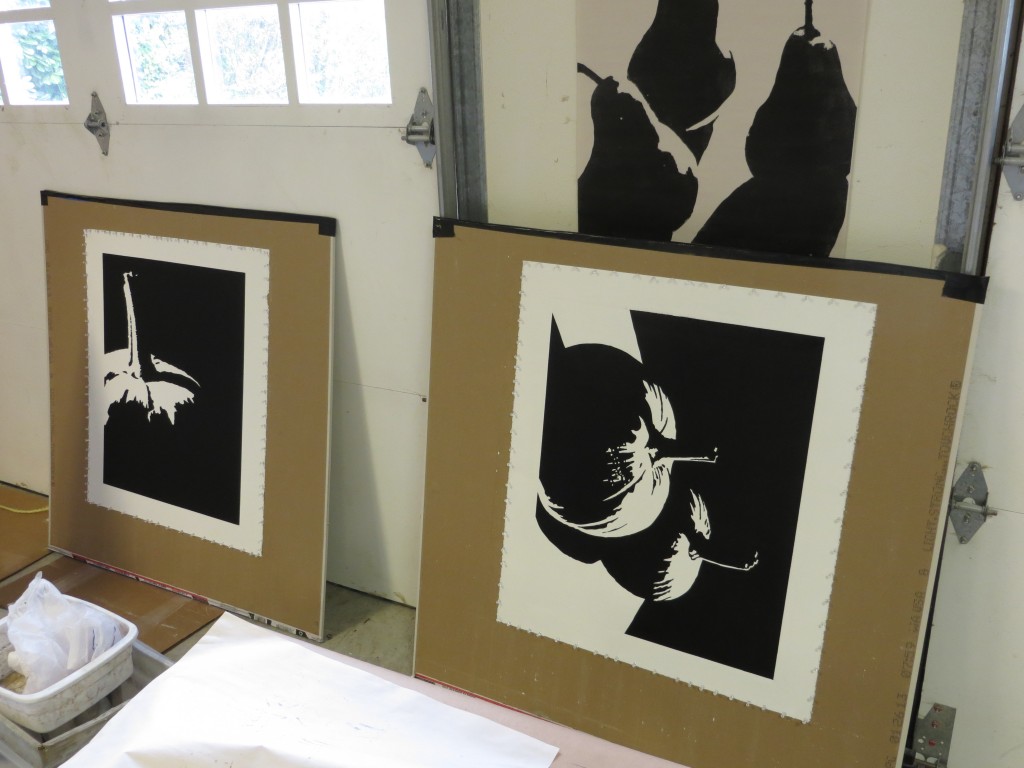
Over the weekend I made my first large relief print on the Glen Alps press. These 24″ x 30″ prints typically take me over an hour when printing by hand with a baren. I still spent quite a bit of time inking up the plate, but I was able to print it in a matter of minutes.

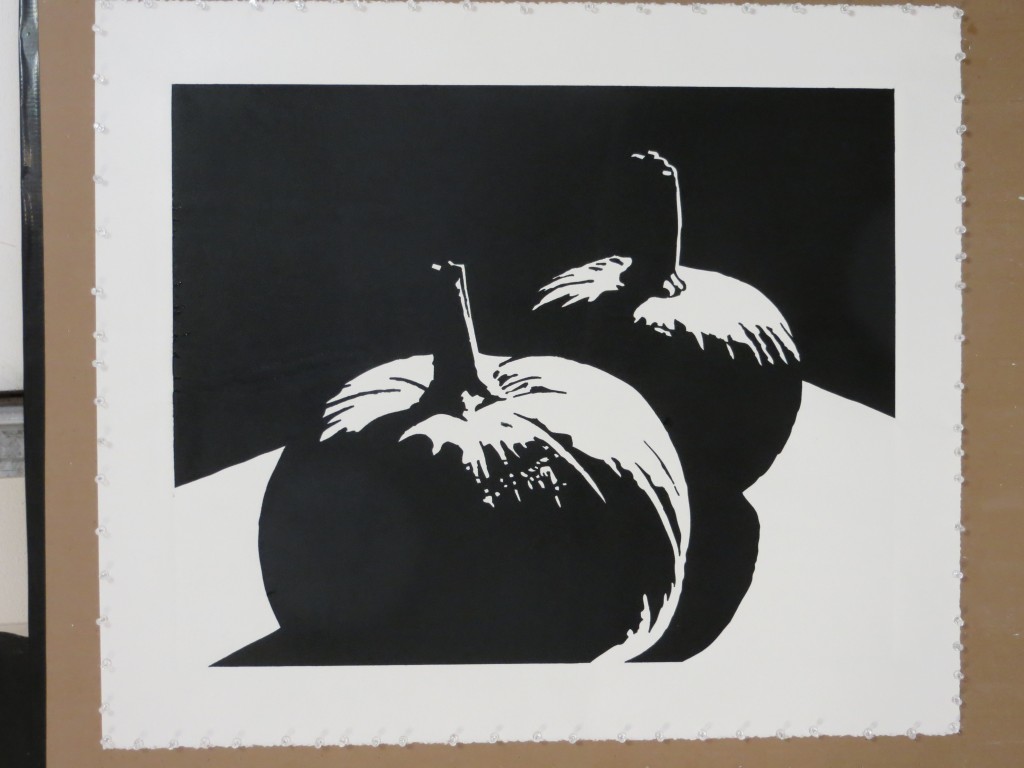
I printed this first test on the rough side of a piece of dry Masa paper and as you can see in the pictures below, I still need to tune the process. There are two problems. The first is that I’m not getting full ink transfer and this is causing a lot of white speckles in the blacks. I suspect this is because I am using a soft rubber Whelan Press blanket instead of a stiff wool blanket. With the soft rubber blanket, I need to keep the pressure low to prevent the blanket from ripping the paper on the edges of the relief plate. The second problem is that the embossing is so deep that the paper is wrinkling. I think I can fix both problems by putting a piece of stiff card stock between the blanket and the paper.

I’m ready for my first test with a large relief plate on the Glen Alps press.

I just love seeing these abstract designs come off of the press. This is my first peak of a large relief print on the new press. Note the white speckles at the top of the photo.

My first test print is promising, but I need to adjust the pressure to get better ink transfer with less embossing.

Laser engraving for detail

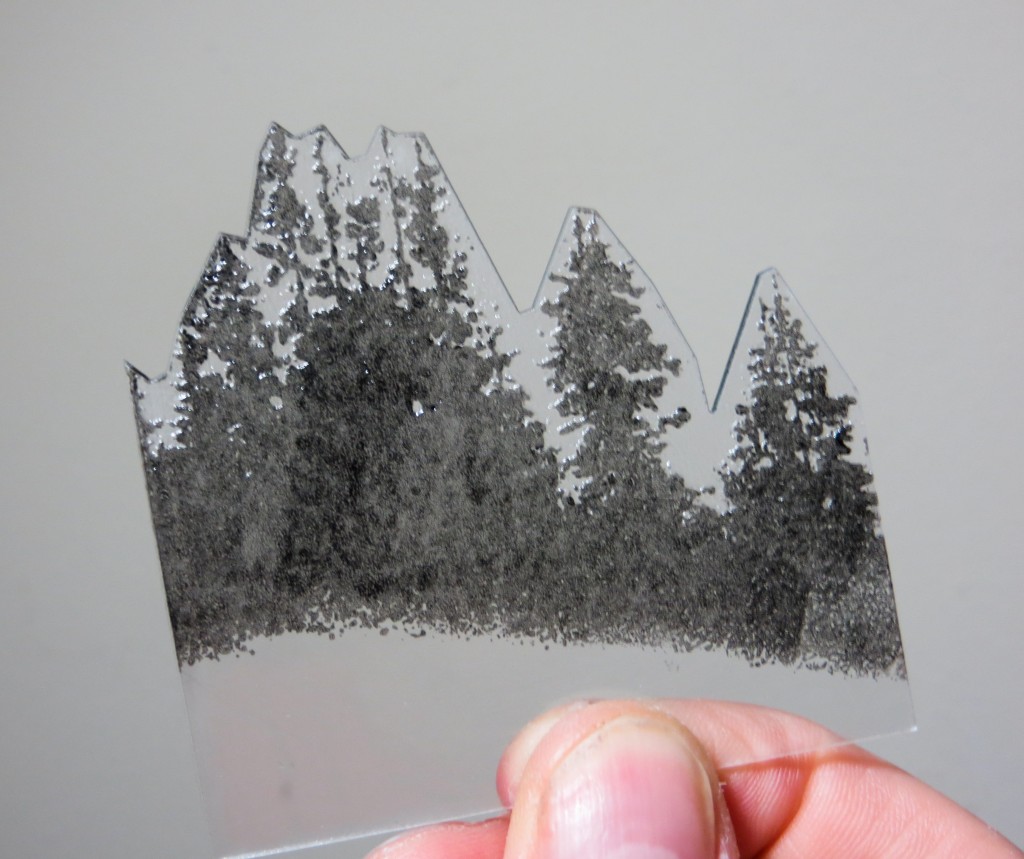
Today I experimented with laser engraving to create a relief plate with details that are too small for laser cutting. I was able to get decent results on a very small sample design of a bunch of pine trees, but the resulting plate was hard to print and it took a lot of laser time. I will probably do some additional experiments with plywood and MDF plates, but I think I may have reached the limit of detail that one can achieve cheaply with a laser cutter/engraver.

I suspect that for this level of detail I will need to move from relief printing to intaglio, either with photo polymer plates or perhaps etched aluminium plates. Stay tuned for more details.

Here’s my 2.75″ x 3.25″ test plate, made by engraving and then cutting a piece of 1/16″ acrylic. The plate is inked and ready to print.

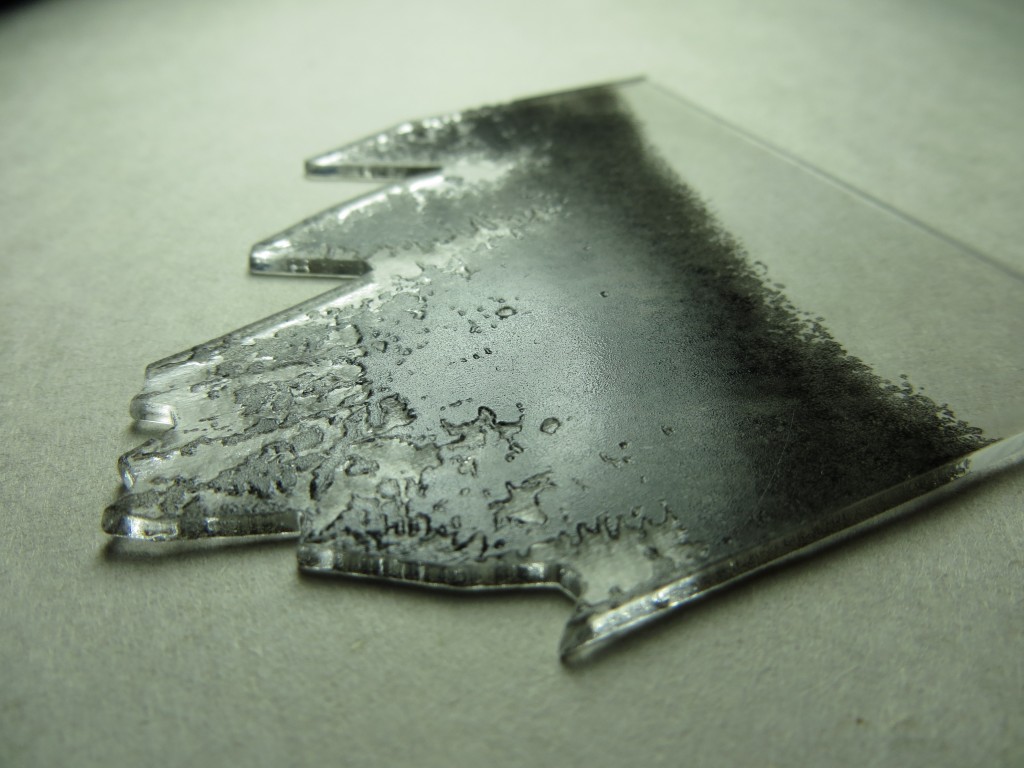
As you can see in this image, the engraved plate has very little relief. This makes it hard to ink. I experimented with various laser settings. The key is to use a low enough power to avoid turning plate into a pool of molten plastic, while using enough power to get sufficient relief for printing. This sample used two engraving passes at a lower power.

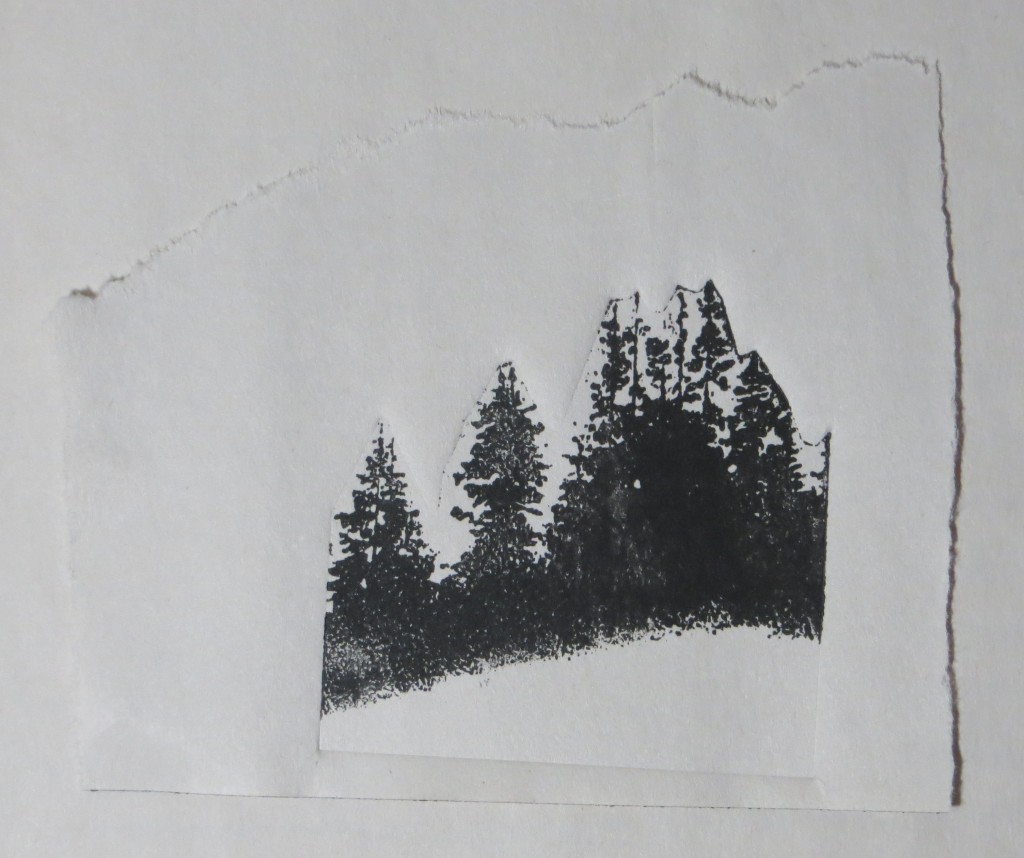
Here’s the first proof. I had to use a very light touch when applying ink, but I did get decent results with quite a bit of detail.


Laser Cut Pumpkins

Tonight I had a really good session printing my first laser cut acrylic plate. I used Akua Intaglio Carbon Black ink on damp Rising Stonehenge ripped to 32″ x 36″. The acrylic plate worked much better than the FPVC plates I was using before, but I did have to take care with the baren because the cut edges are hard and sharp and could potentially tear the paper.

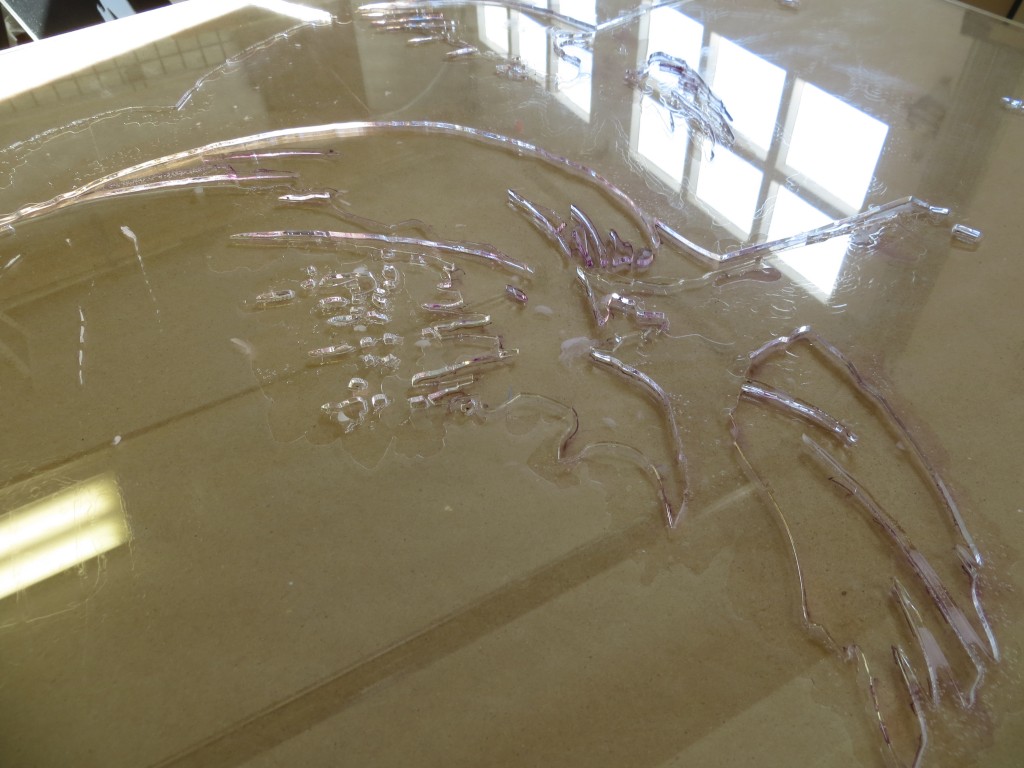
Crystal clear acrylic plate ready for ink.

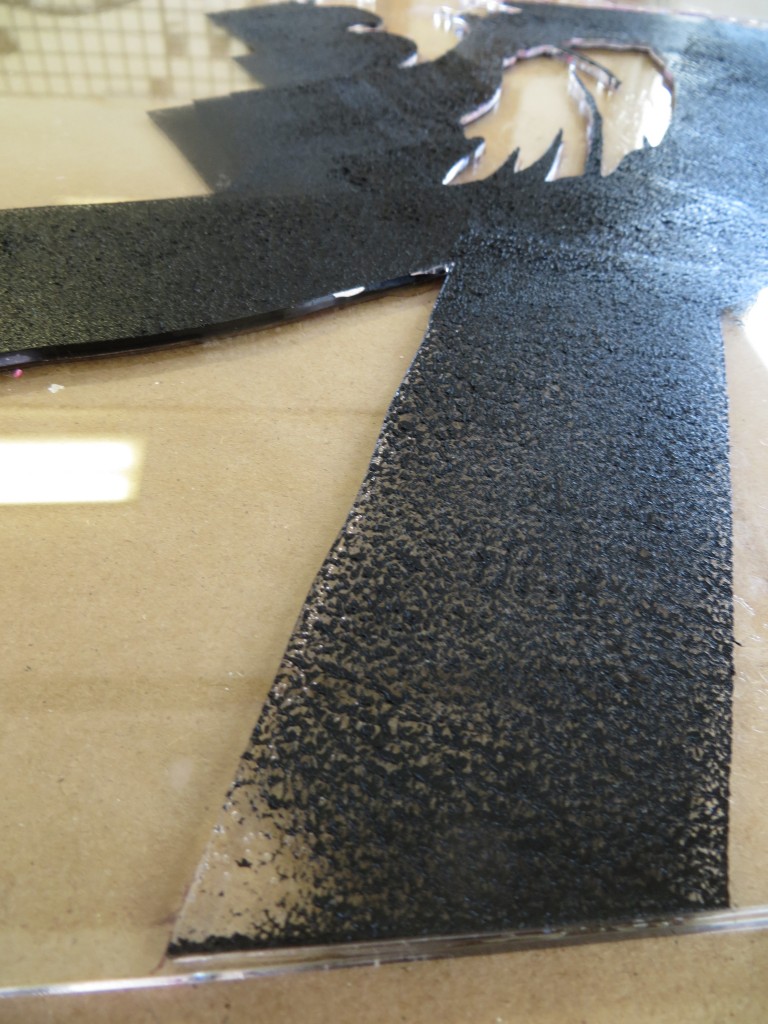
As I began to ink the plate, I realized immediately how acrylic is a better plate material than FPVC. The acrylic is very smooth and this makes it easy to apply the ink and transfer it to the paper. The fact that the acrylic is clear is a huge plus. Once the plate is fully inked, I can hold it up to the light and inspect for pinholes. The first time I did this, it was clear that the plate was far from ready. It was such a time saver to apply the ink once before printing. With the FPVC plates, I often have to lift the corner of the print a number of times to reapply ink to cover pinholes.

Here’s the first print from the laser cut acrylic plate.

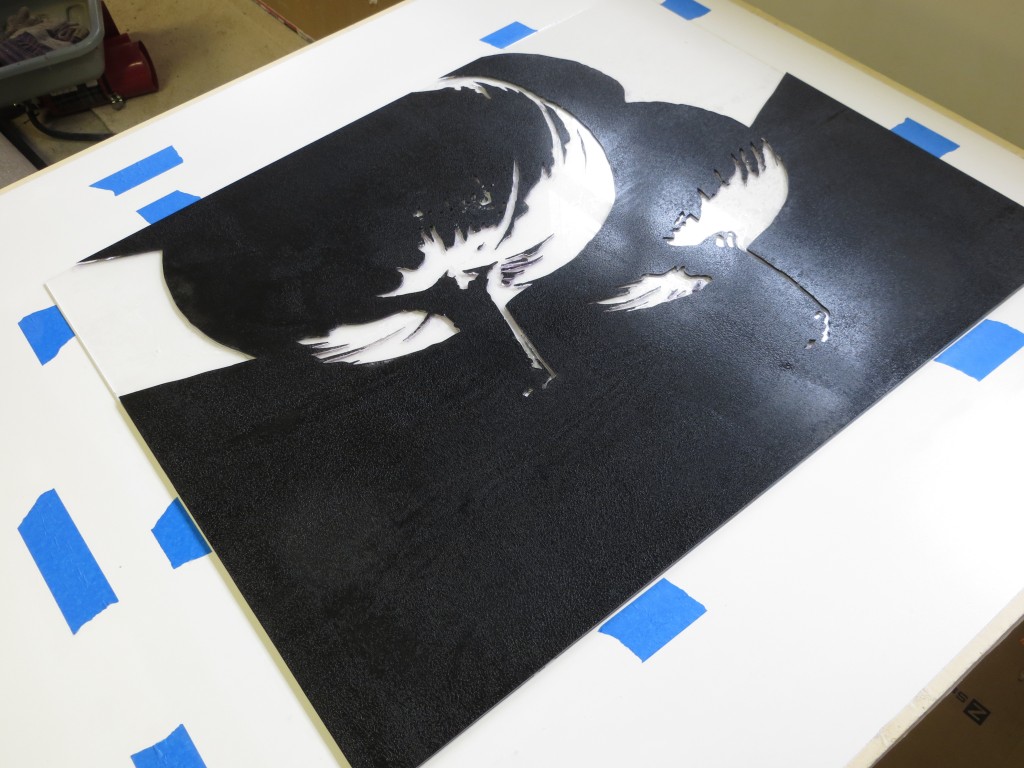
Here’s a view of the plate sitting on my large “press” which consists of a sheet of 4′ x 8′ melamine and a baren.

Inked plate with first print drying in the background.

The new print dries on a sheet of masonite.

Laser Cutter

I’m trying a new approach to making giant relief plates. Instead of cutting FPVC by hand with a jig saw, rotary tool, and file, I am using a laser cutter to burn a plate from a sheet of clear acrylic. Goodbye dust and noise and goggles and respirators. Hello fire!

Laser cutters are huge and very expensive. Fortunately Metrix Create: Space in Seattle has one available for hire at really reasonable rates. They charge by the minute, with rates varying depending on your membership level. My 24″ x 30″ plate had about 700″ of cuts and we were cutting at about 10mm/s, so the whole job took about 30 minutes. From reading the laser manufacturer’s documentation, it appears that it can cut my 3/32″ acrylic at 40mm/s which would reduce the cutting time and the cost dramatically.

Today I cut the plate and glued the pieces together. If all goes well I am hoping to pull a print tomorrow!
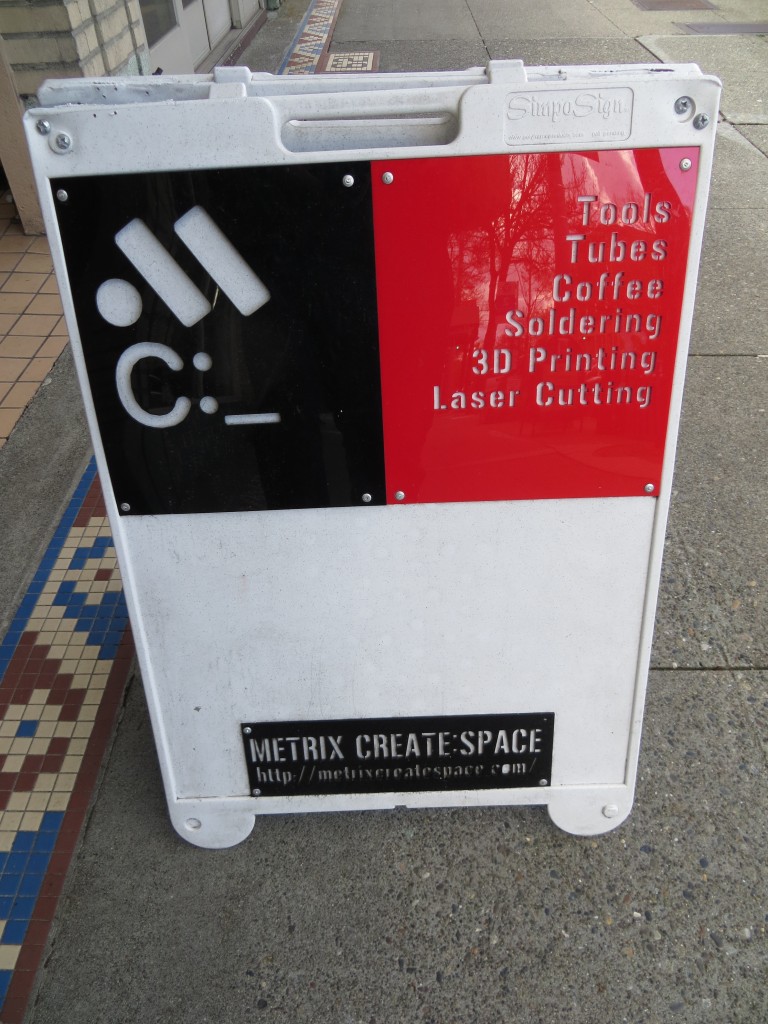
Metrix Create: Space on Capitol Hill near the intersection of Broadway and Roy. In their own words, “Part techshop, part hackerspace, part coffeeshop”. Metrix Create: Space has all sorts of goodies including laser cutters and 3D printers.
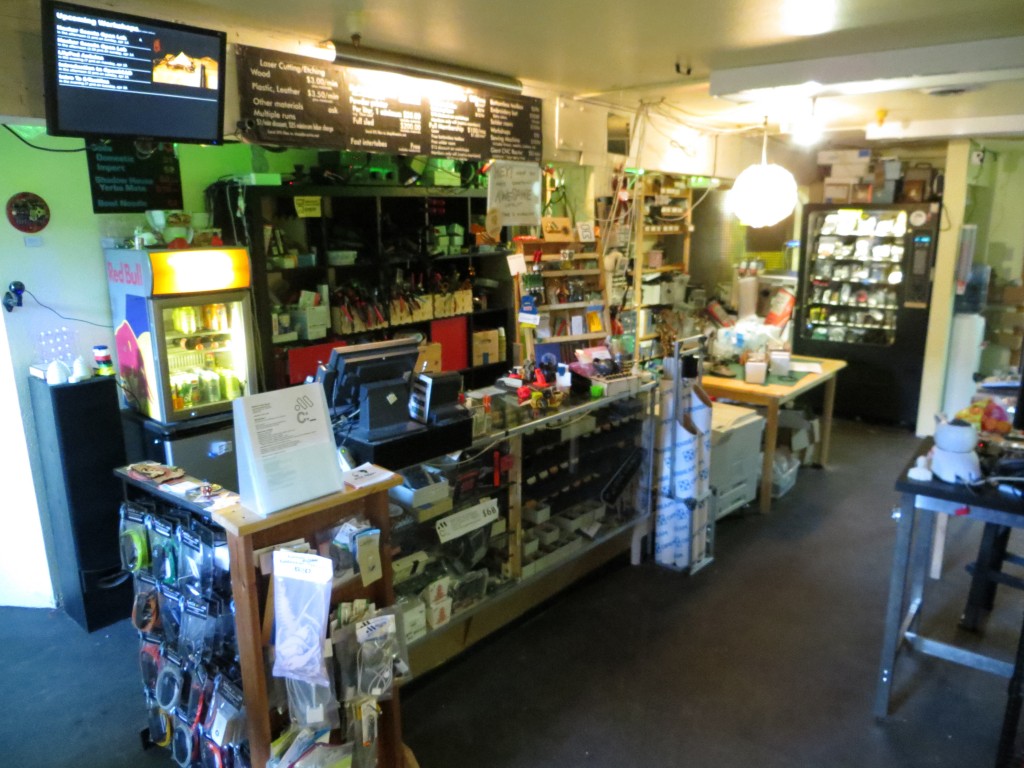
Matrix Create: Space is well stocked for all of your hacking/making/building needs. It is a great place to hang out and meet other builders and the staff are super friendly, knowledgable, and helpful.
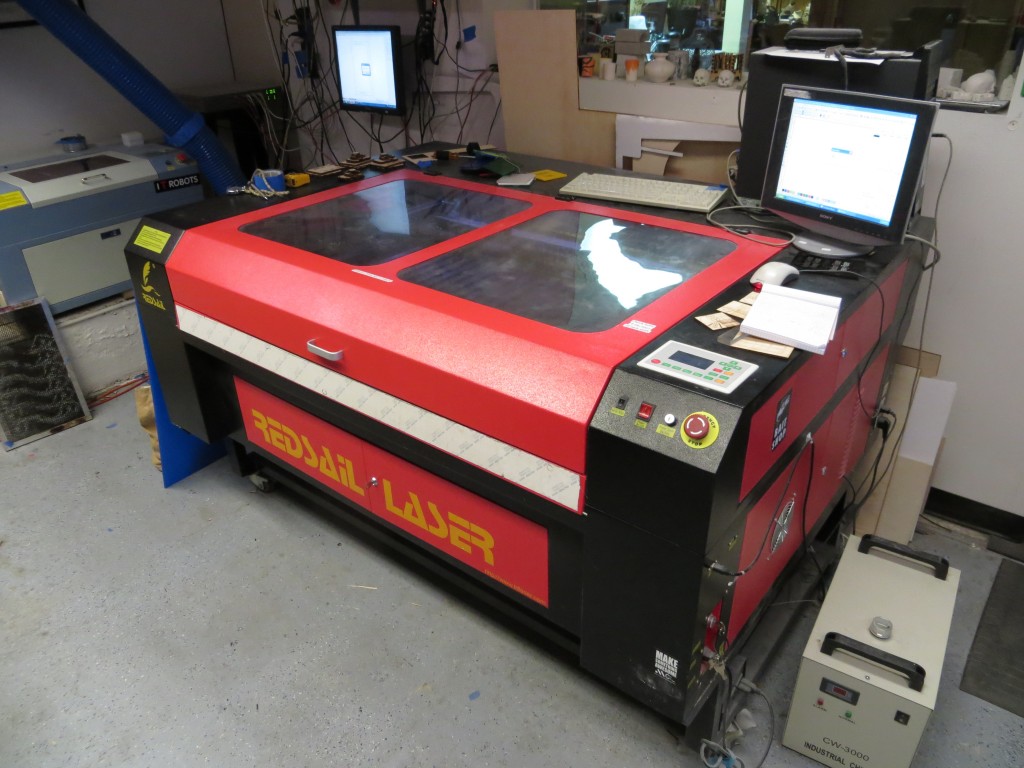
This monster is a 100W FullSail laser cutter. It handles material up to 32″ x 45″. Cuts acrylic and wood like butter at about 1000 dpi.
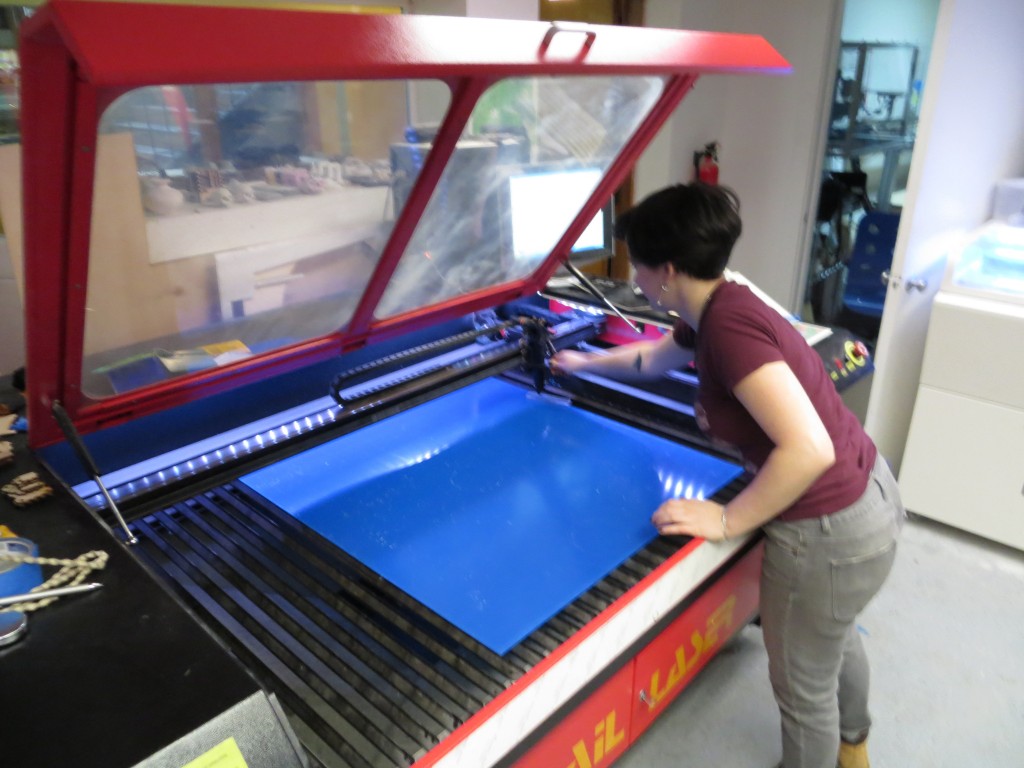
Lauren loads my sheet of acrylic into the laser cutter.
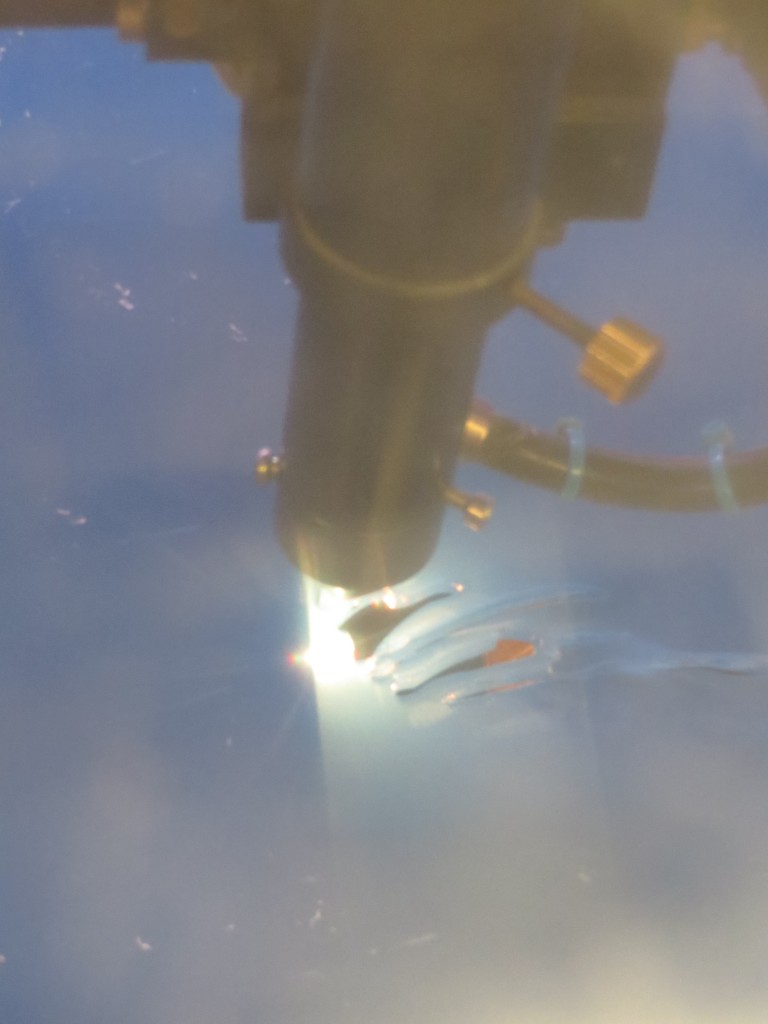
Laser cutter in action!
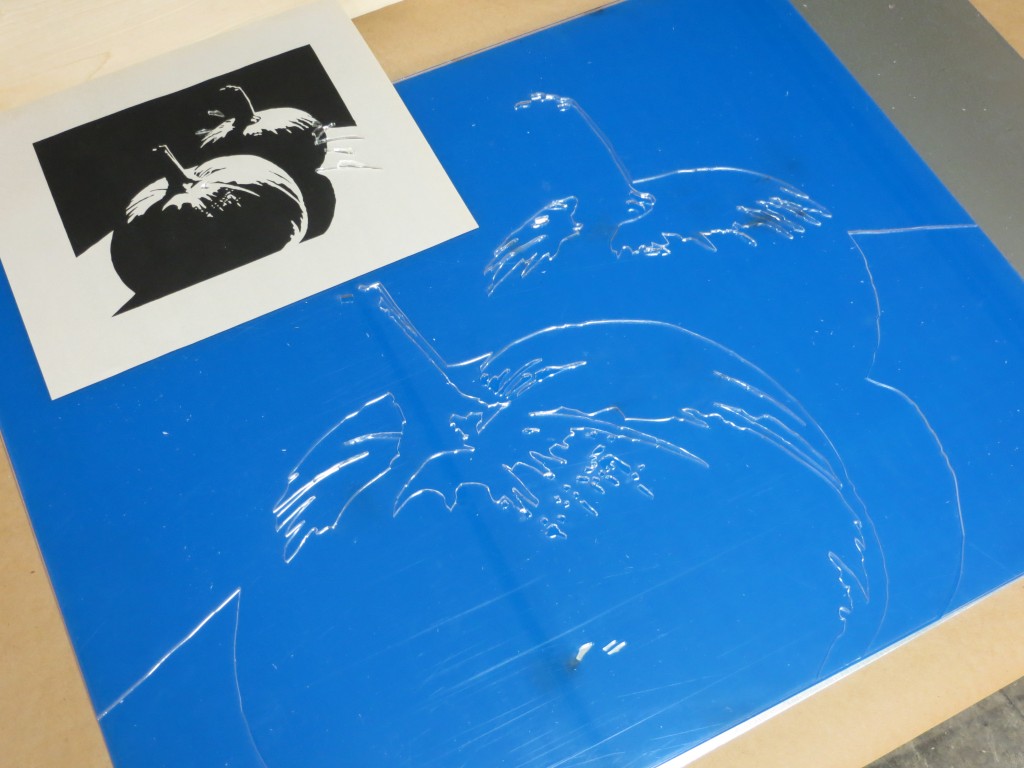
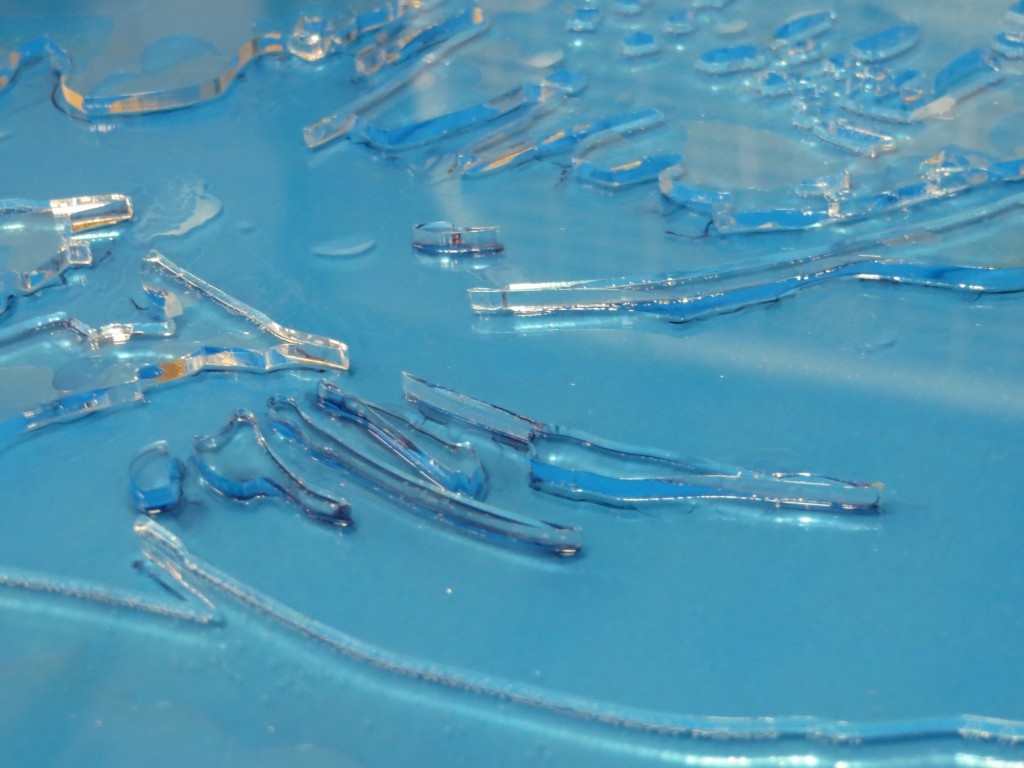
Here’s what the plate looks like fresh from the laser cutter. I am using clear acrylic. The blue that you see is a protective film.
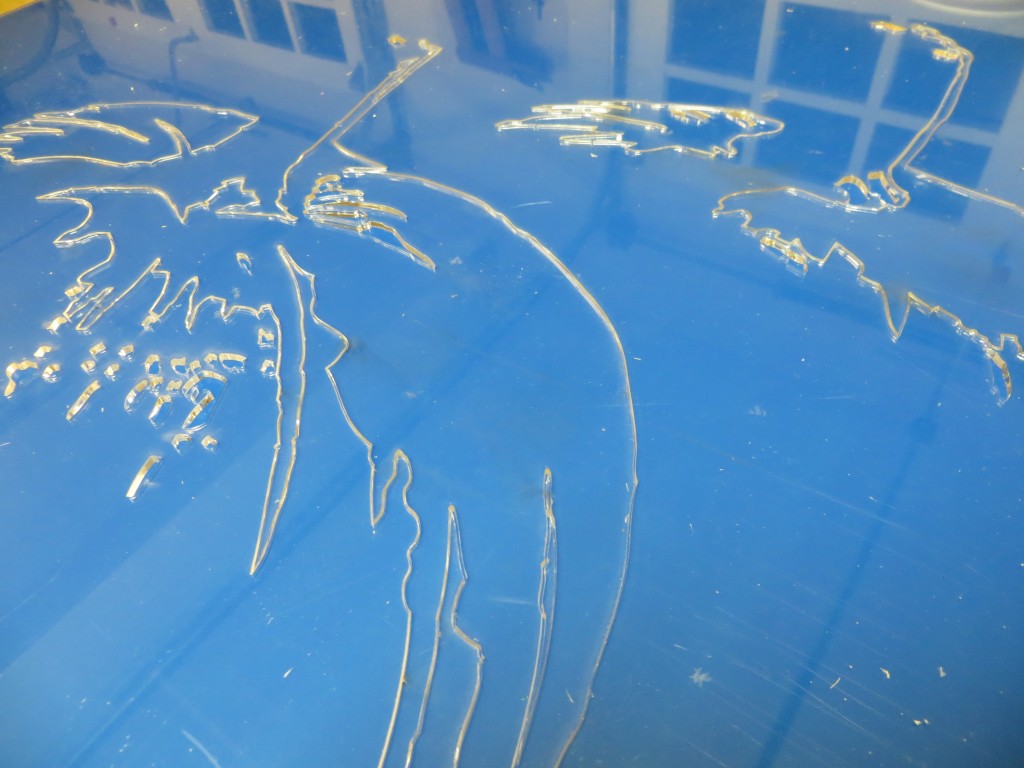
Closeup of the plate after cutting. The clear acrylic sparkles like jewels.
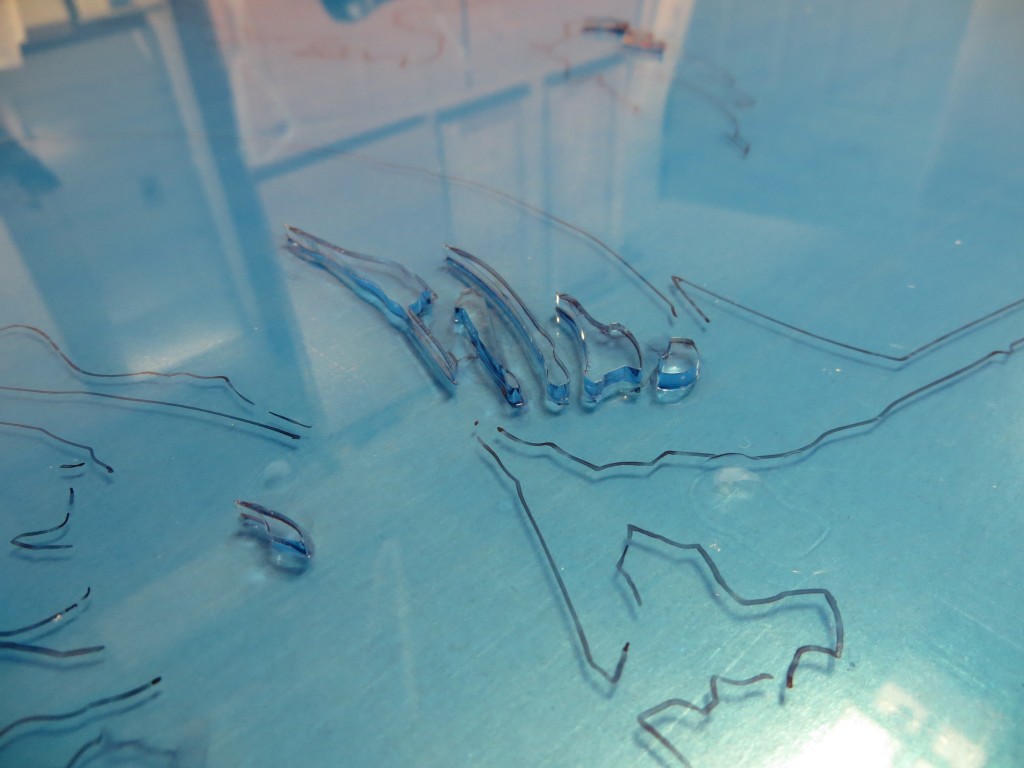
At this point I have just started to cement the small, isolated pieces.
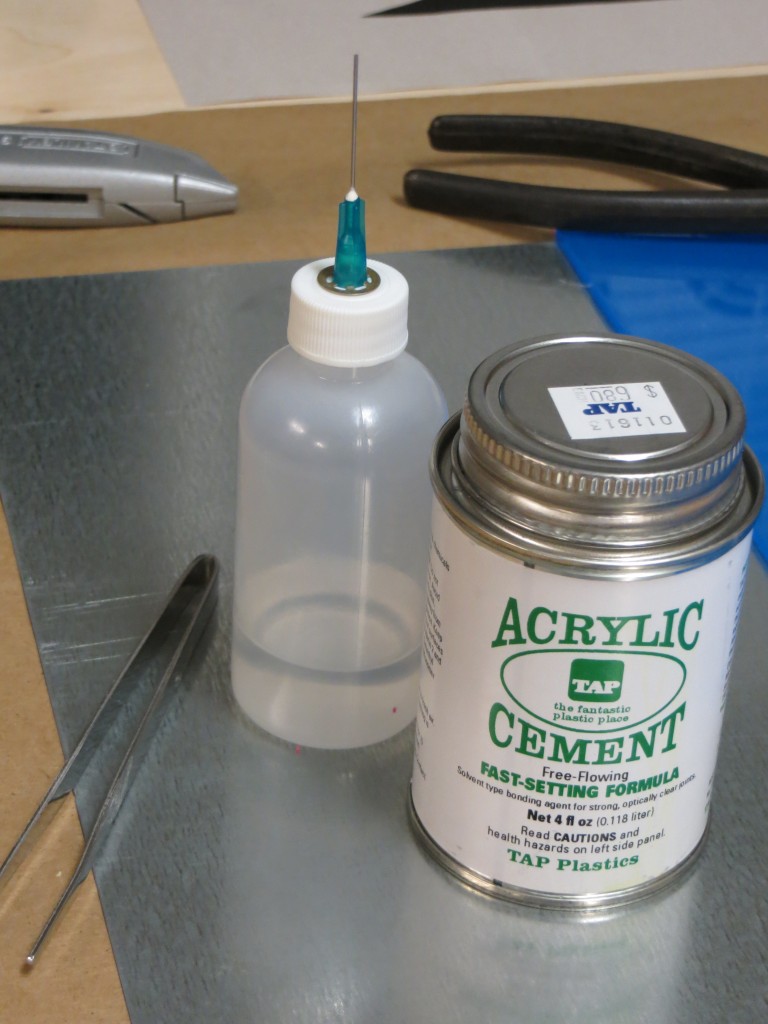
I am using acrylic cement from TAP Plastics to assemble the plate. The syringe bottle shown on the left is a huge help in spreading the cement and containing the fumes. The great thing about the syringe is that you can run it along the joints and they will draw in the cement through capillary action.
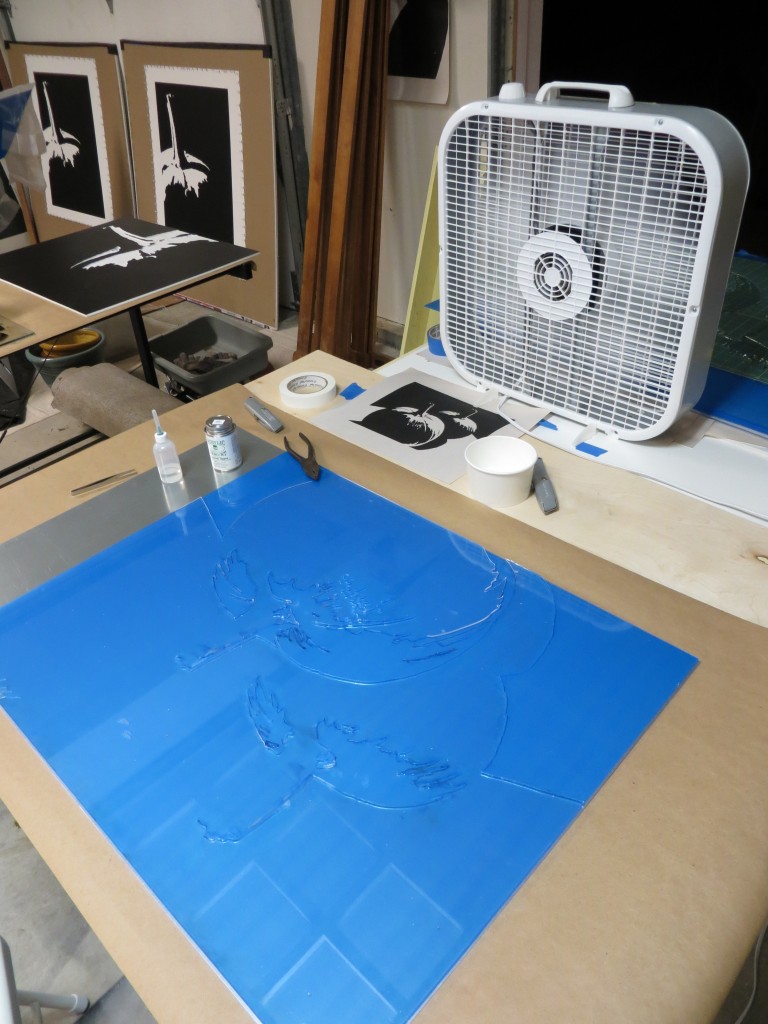
Acrylic cement contains methylene chloride and other nasty chemicals that dissolve your brain and latex and nitrile gloves. Use PVA gloves and be sure you have plenty of ventilation!
Closeup of the fully assembled plate.