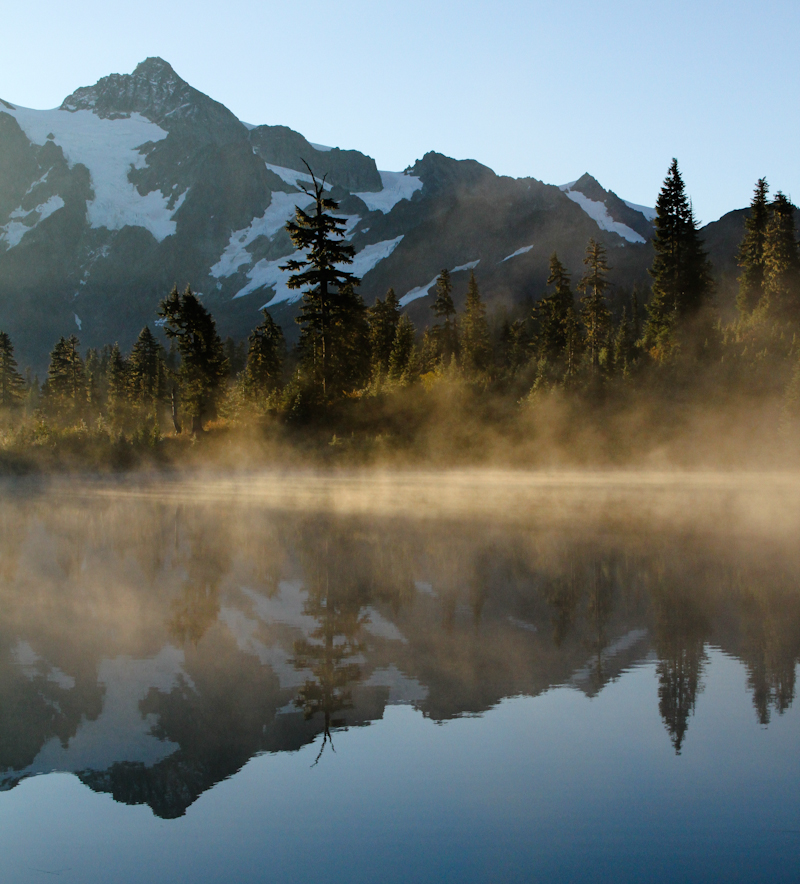
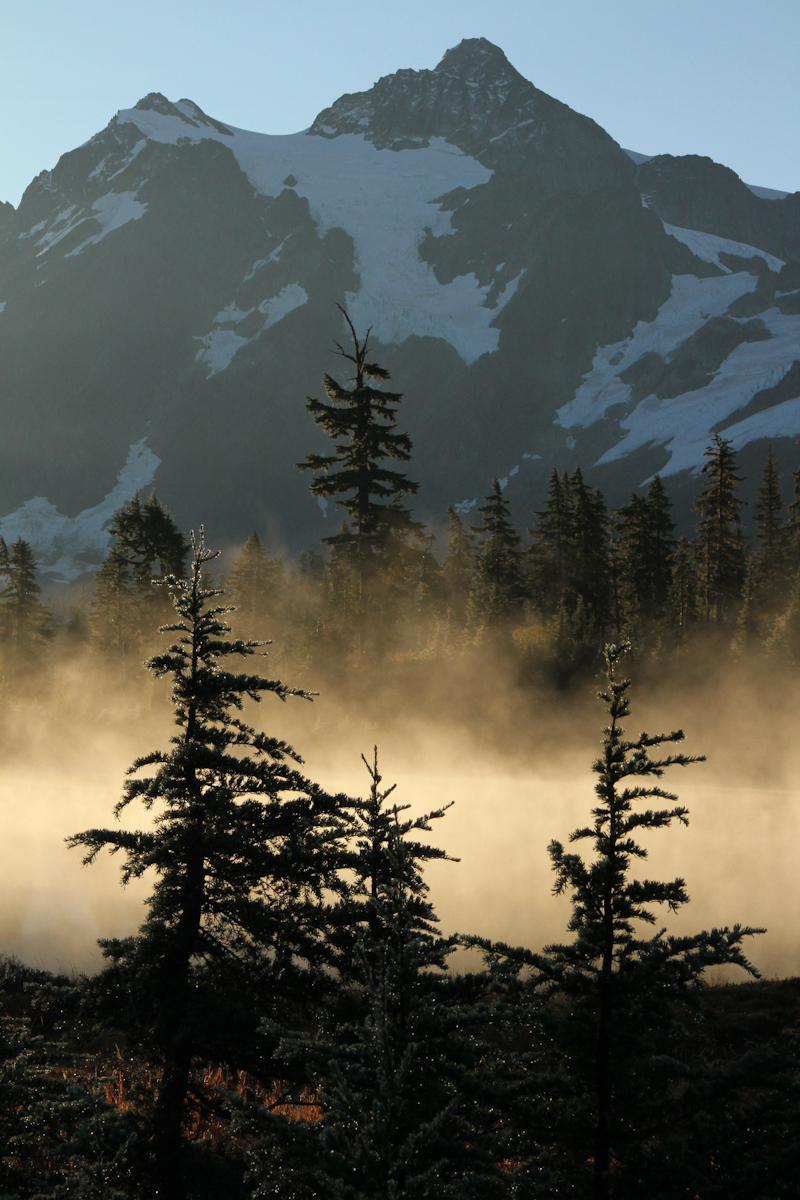
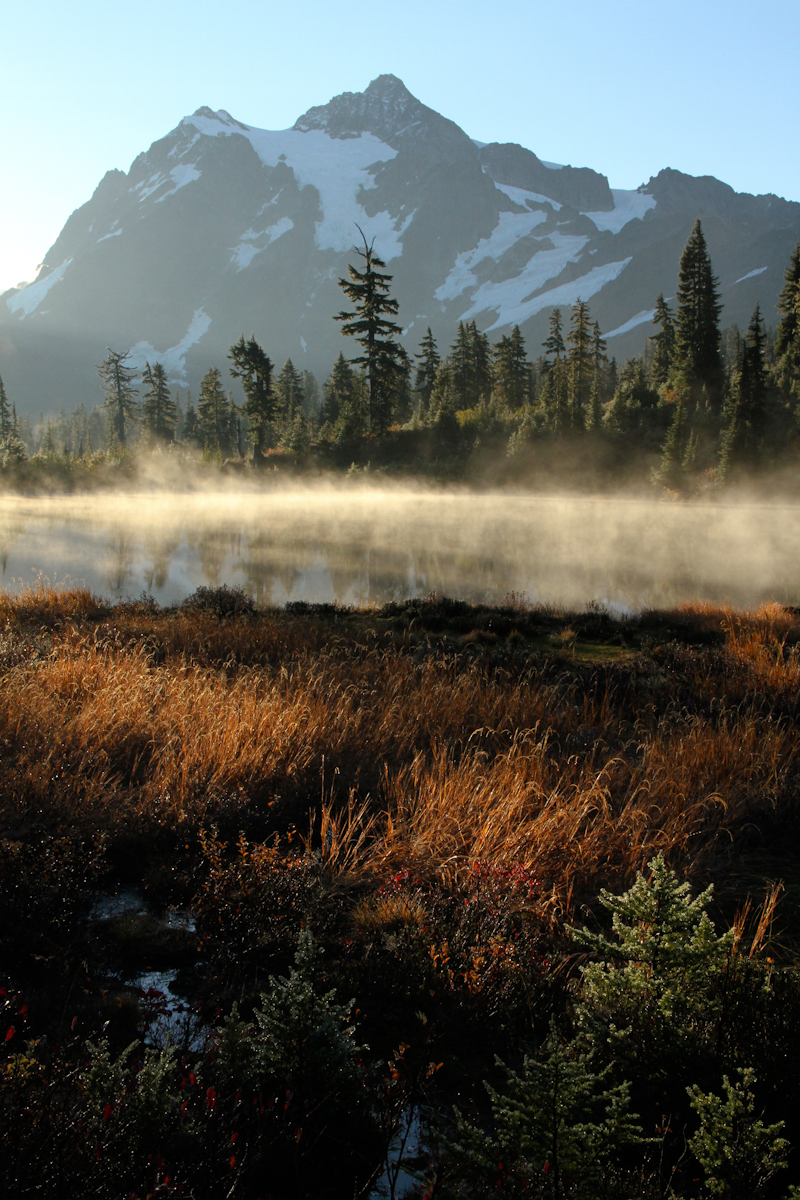
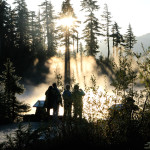
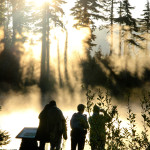
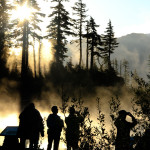
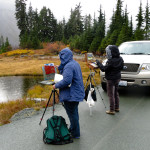
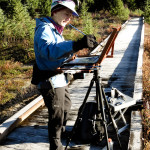
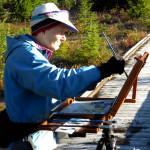
Here are a few more photos from the PAWA Mount Baker Paint Out. When it’s not completely socked in, it’s beautiful!
We stayed at the the Mountaineers Mount Baker Lodge which is just a few hundred steps from where the pictures were taken.
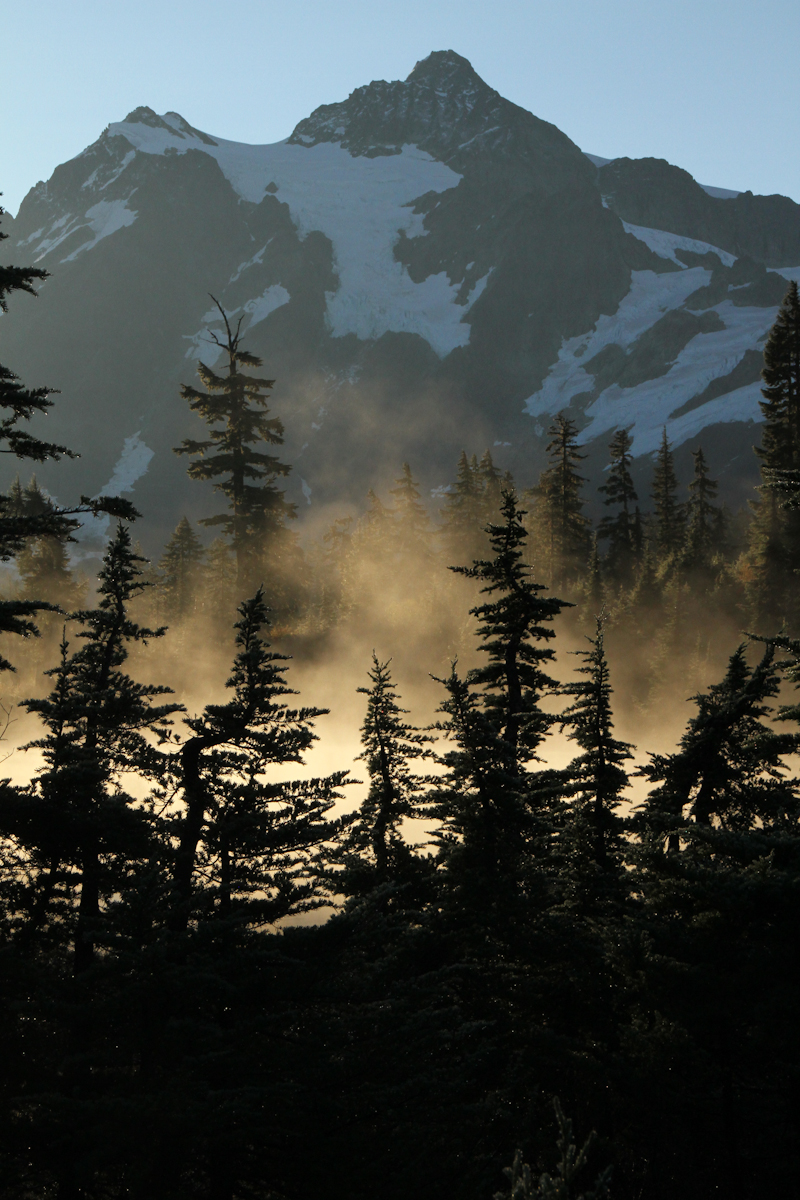
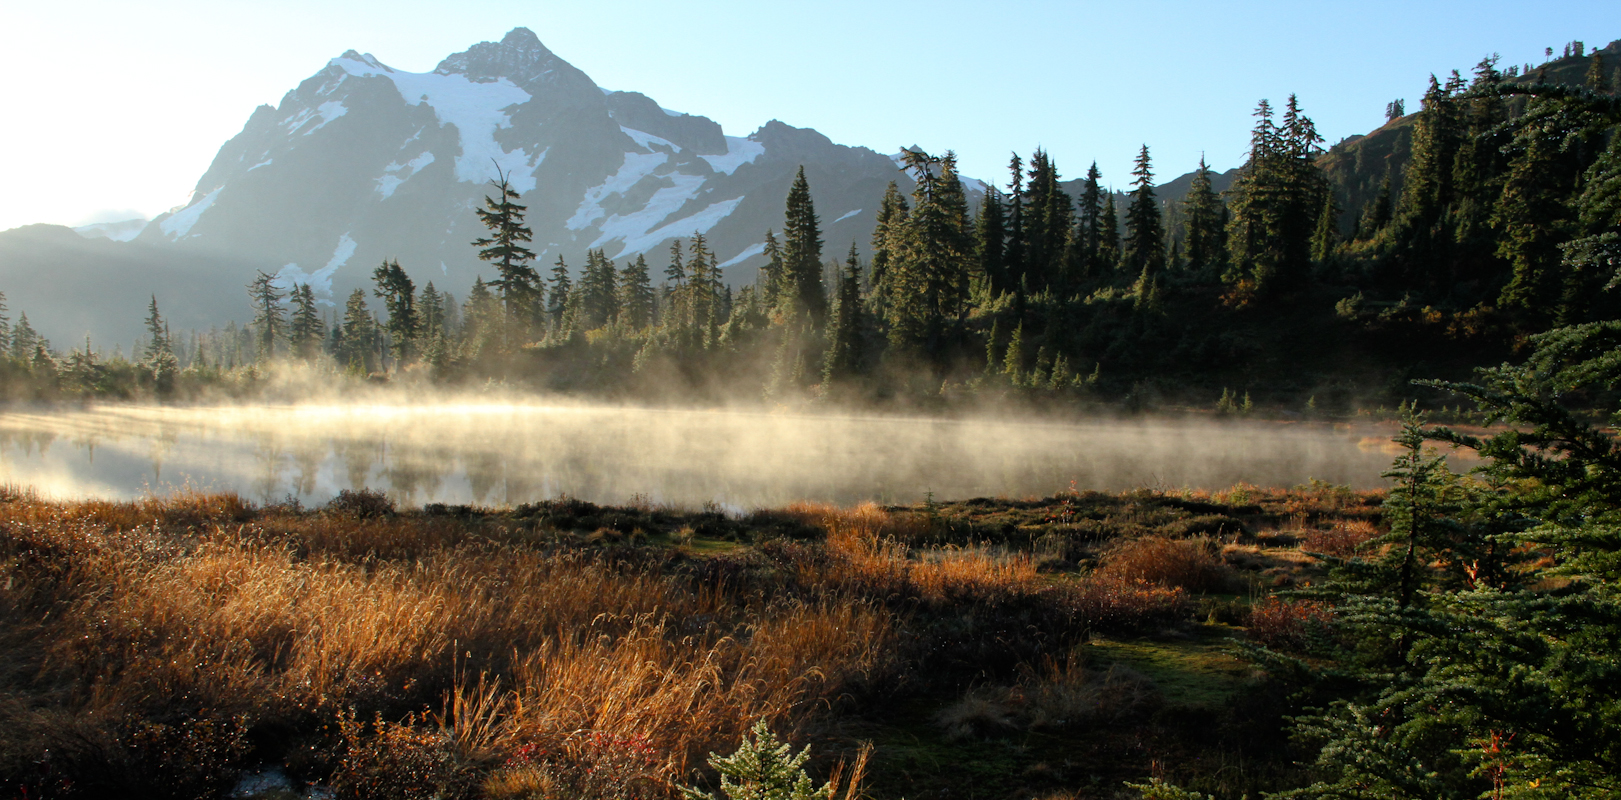

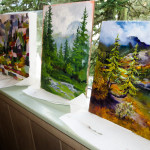
Here are a few more photos from the PAWA Mount Baker Paint Out. When it’s not completely socked in, it’s beautiful!
We stayed at the the Mountaineers Mount Baker Lodge which is just a few hundred steps from where the pictures were taken.
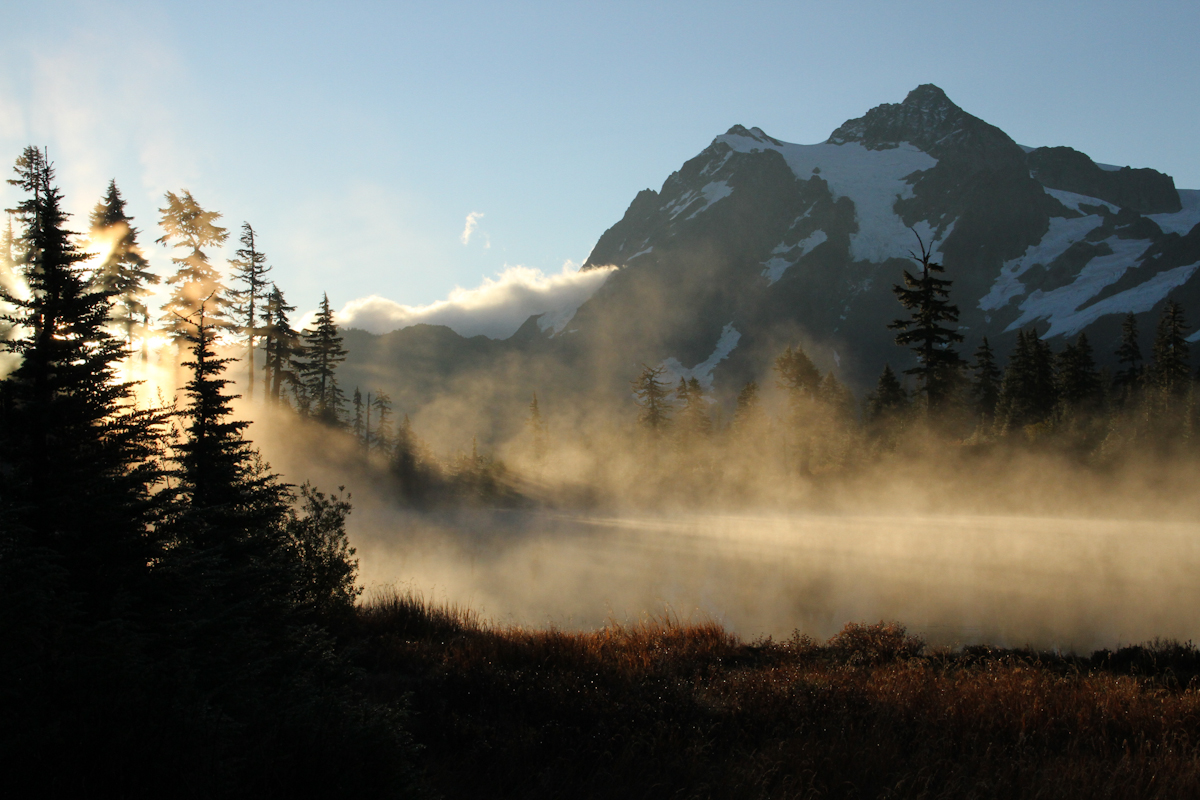
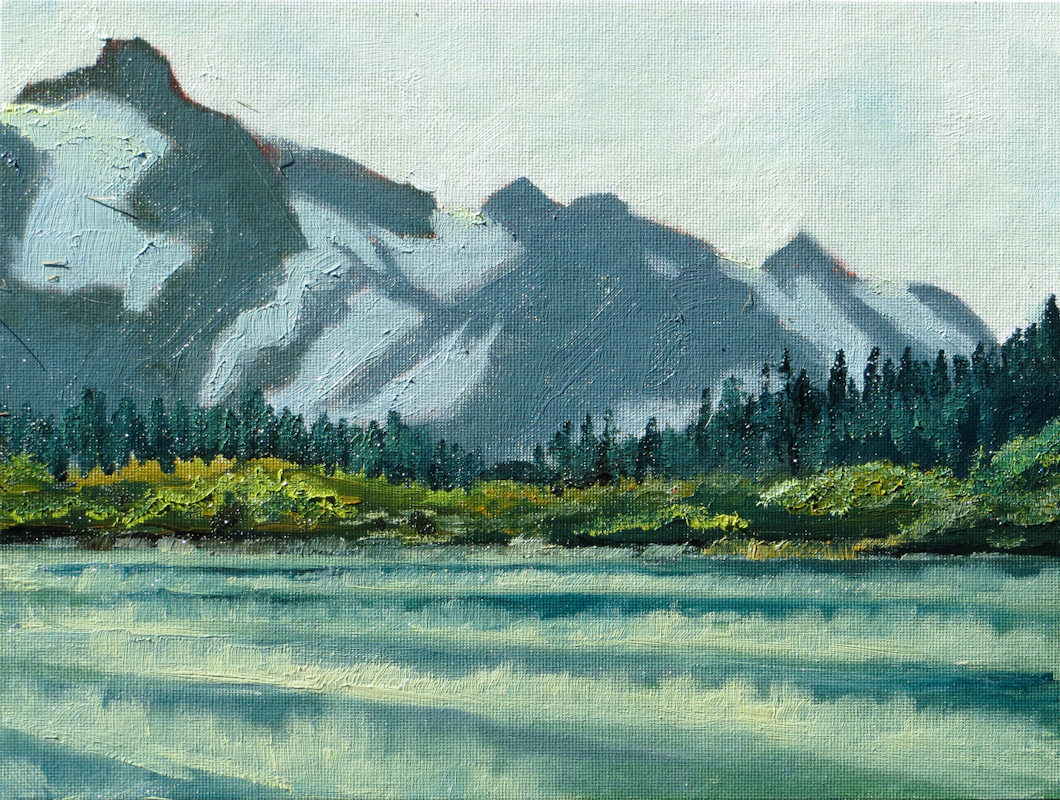
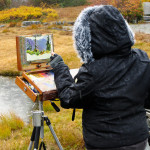
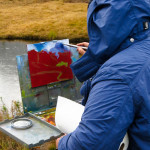
Here’s one more painting from Day 2 of the the PAWA Mount Baker Paint Out. We returned to Picture Lake before dawn and set-up in the cold and dark. As the sun rose to the left of Mount Shuksan, we painted the mists rising off the lake. One challenge I had was that my water miscible paints would freeze on the palette as I did my block in. Once the sun rose, the paint thawed out and everything was fine.
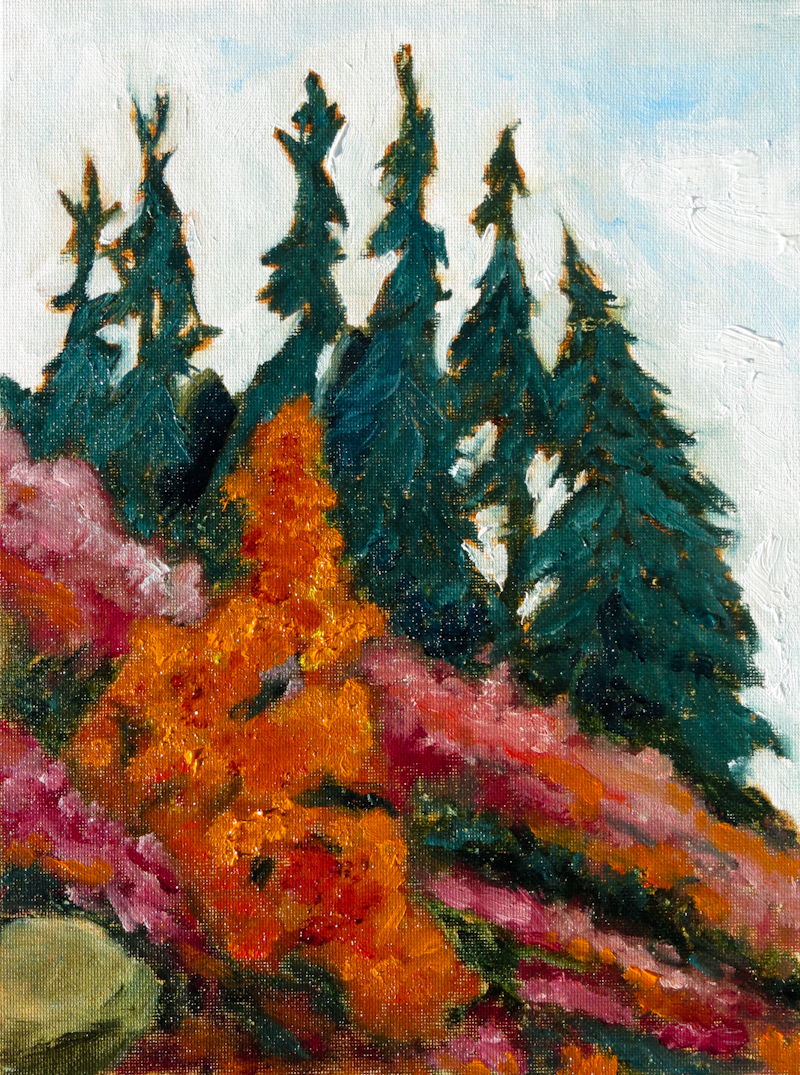
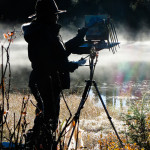
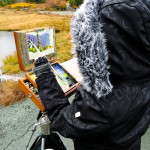
At the PAWA Mount Baker Paint Out, Day 1. In the afternoon I headed up to Artist Point. We had tried the location first thing in the morning, but it was completely socked in so we went back down to Picture Lake. By afternoon, the clouds had lifted a bit at Artist Point, but not enough for grand sweeping vistas. Undaunted, I decided to concentrate the fall foliage. It didn’t rain for this painting, but I had to beat a hasty retreat shortly after taking this picture when a hailstorm filled my pochade box with icy pellets!

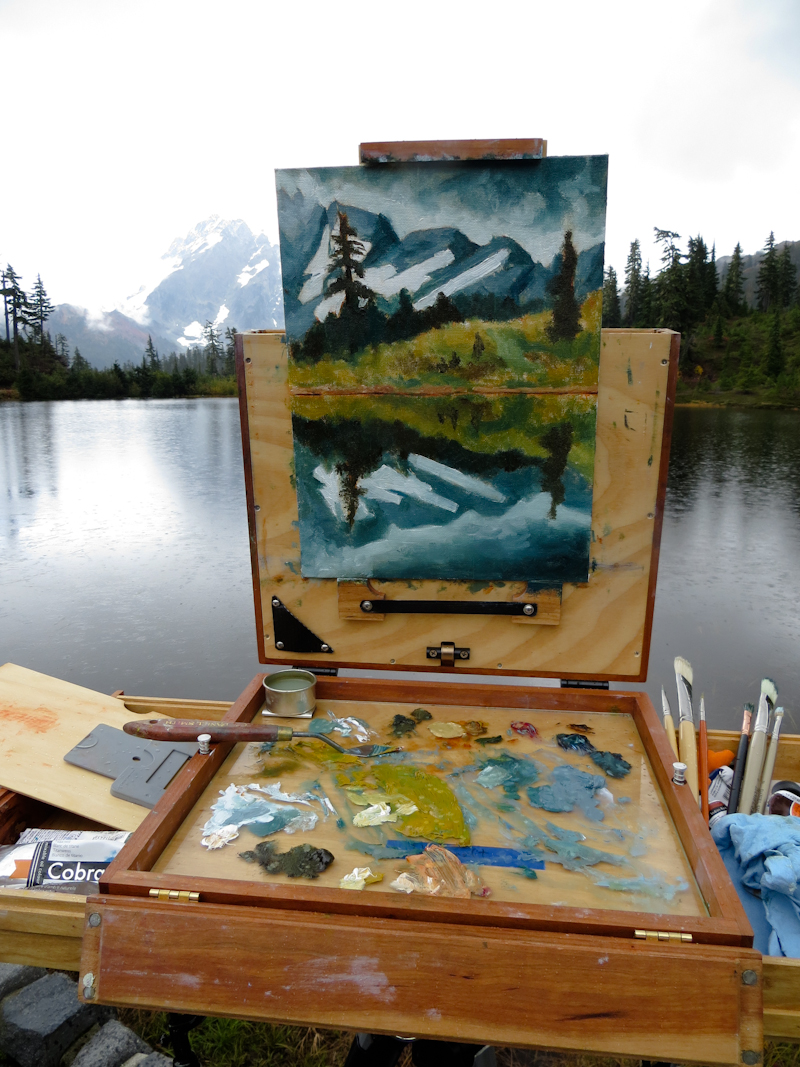
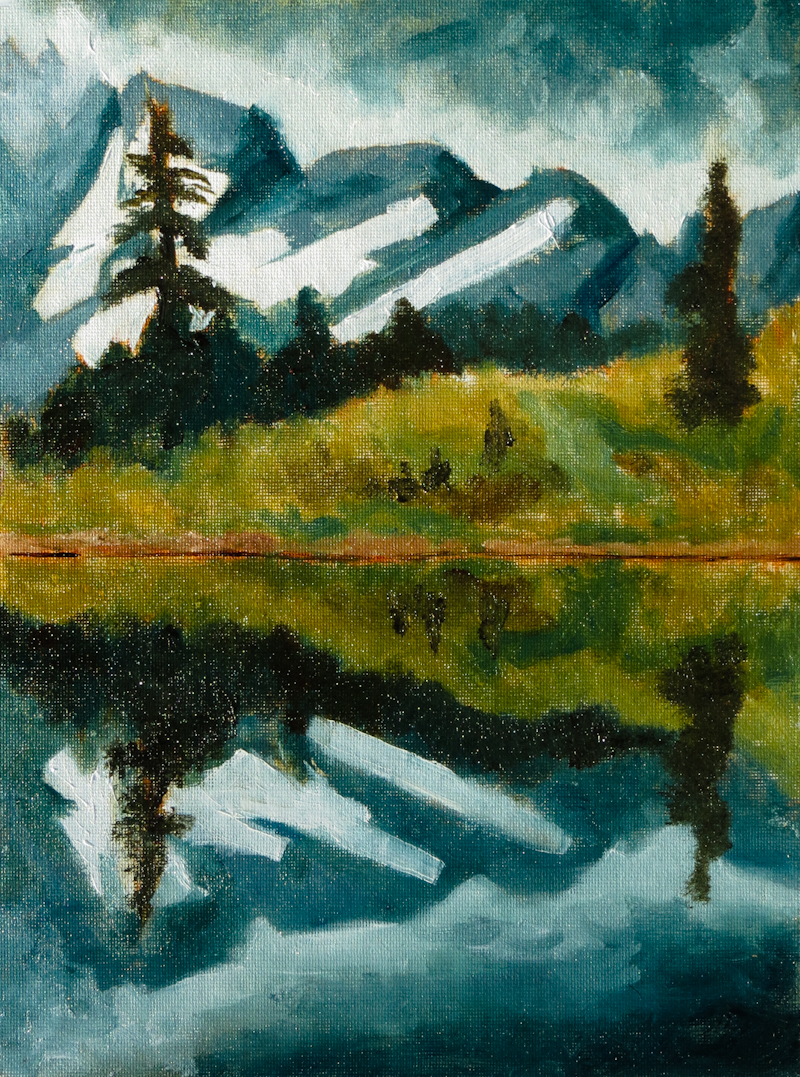
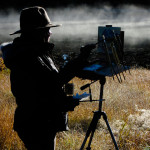
At the PAWA Mount Baker Paint Out, Day 1. I painted Mount Shuksan in the rain from Picture Lake. I’m a pretty slow painter and over the summer I had the luxury of spending multiple of sessions on each painting. Different story at Mount Baker. With the fall weather, the light is constantly changing, making it hard to do a longer, multi-session painting. Instead I am learning to work fast. This painting was completed in just two hours.
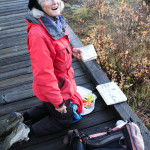
A reporter for King5’s Evening Magazine stayed overnight with us at the lodge and interviewed a number of us while we were painting.
I attended the Plein Air Washington Mount Baker Paint Out this weekend. We stayed at the Mountaineers’ Baker Lodge across from Picture Lake and painted two days – one in rain and hail and one in sun. Great company, great food and great painting!


I started a new Bennington Peaches painting. The previous iteration still needs another session or two, but it is has some drawing and compositional issues that I felt would be easier to address in a new painting.
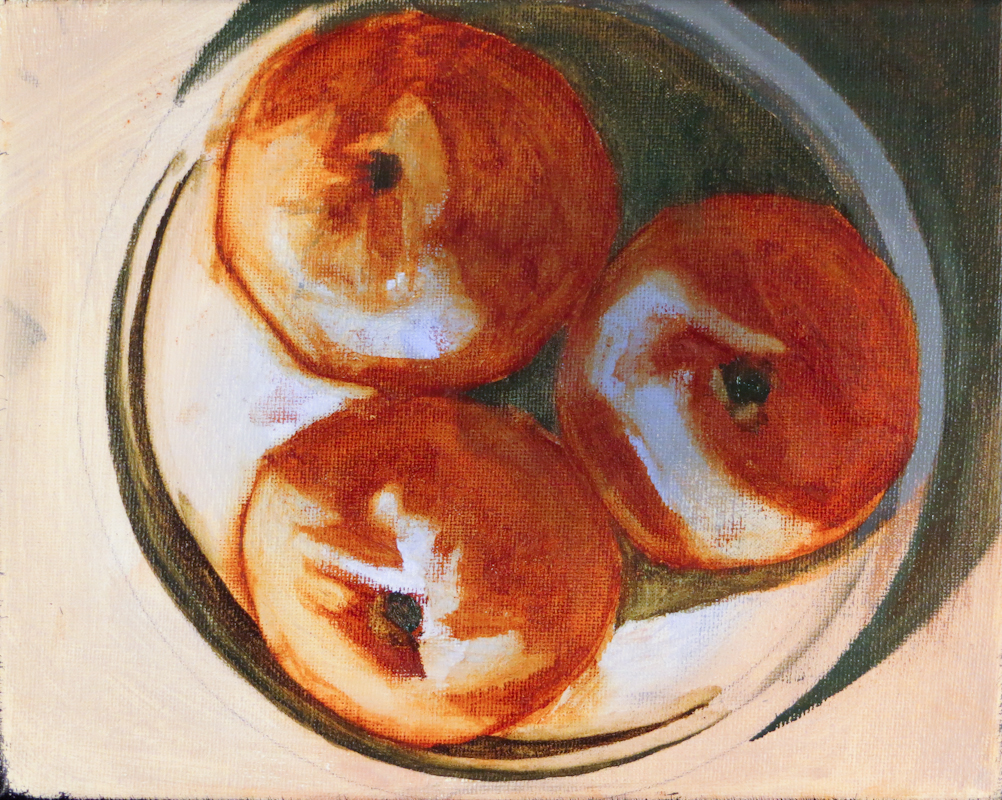
The peaches in this painting are fuller and really crowd the plate. The outlines of the peaches and their form shadows are more interesting and more specific. The previous painting started out more like this one, but the peaches shrank and became less specific as I worked on them. I will finish the earlier painting to get some practice painting the peaches and then apply what I learned to this painting.
Tonight I painted the plate with its pattern of blue splotches and then added some thin color to the underpainting of the peaches. It always amazes me how different the painting is from its underpainting. In the next session, I will paint the peaches closer to their final form and then finish the tabletop.
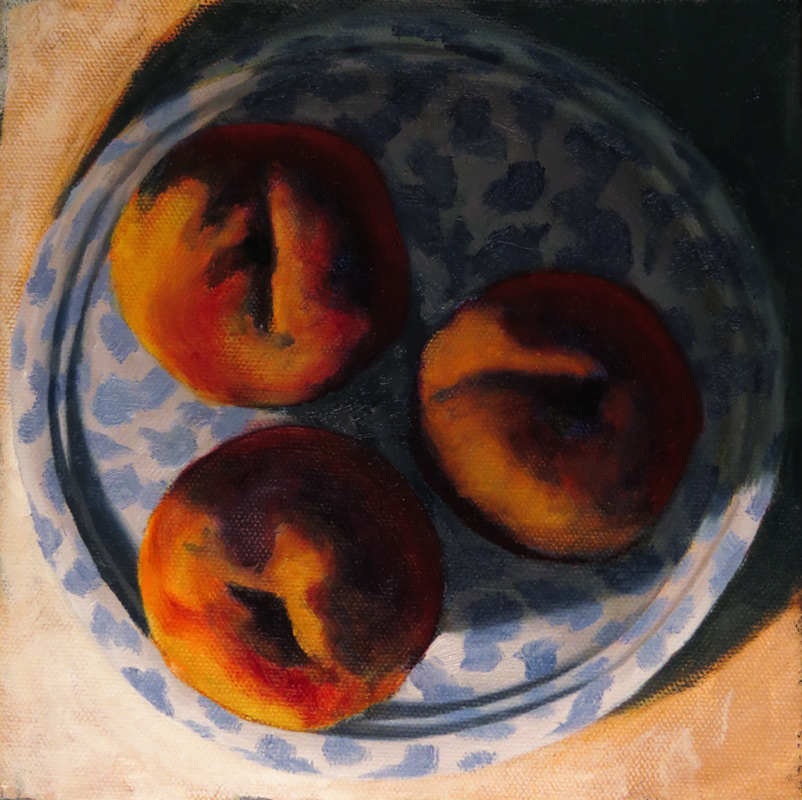
The base color for the plate was a neutral mixture of Prussian Blue, Permanent Alizarin Crimson, Cadmium Yellow, and Titanium White. The spots used the same colors, but almost no yellow.
For this study, I first painted a neutral plate in shadow and light and then went back and added the blue splotches on top of the wet paint. As I suspected, this approach worked better than starting with a blue plate and painting neutral around the spots.
My first project with the new still-life stand was another Bennington Peaches study. Zip-ties hold a mirror that gives me a perfect top-down view of the peaches on the blue plate.

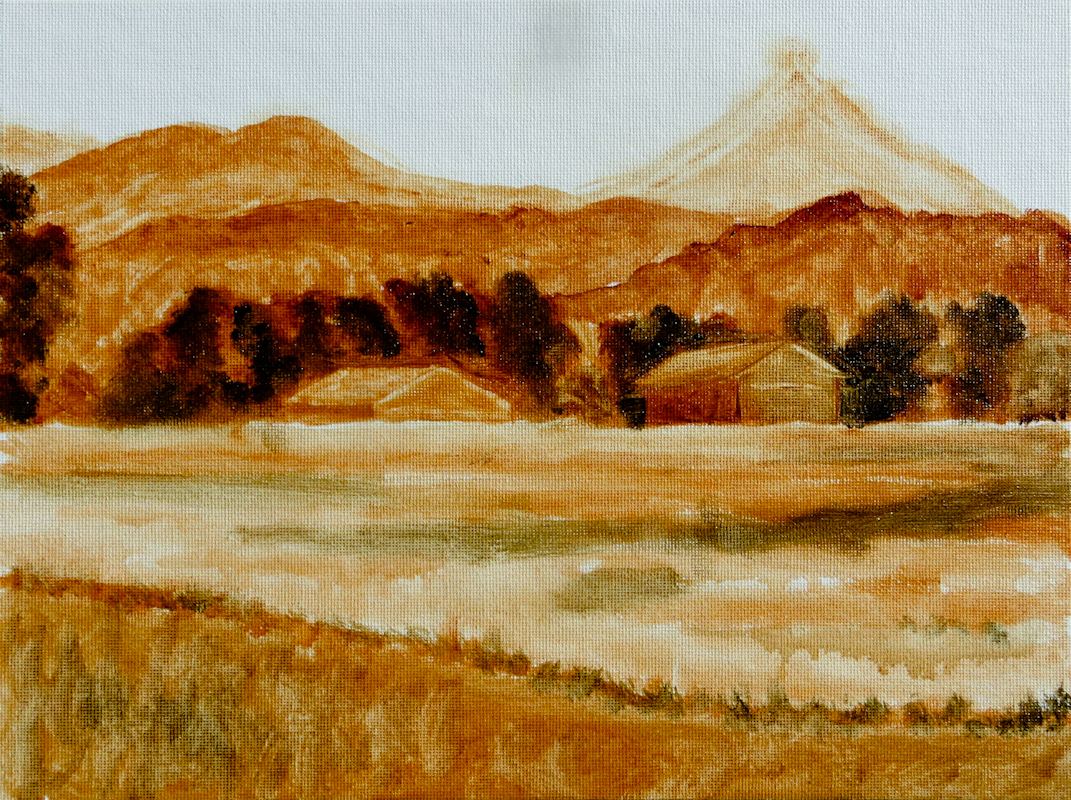
Here’s the underpainting on an 8″ x 8″ stretched canvas.
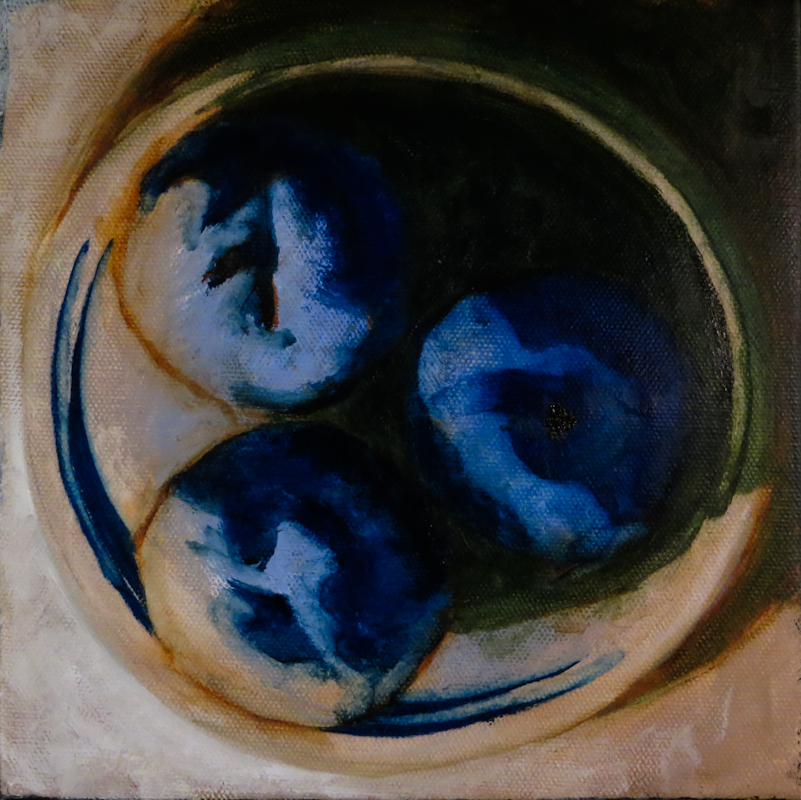
I started by covering the canvas with a random pattern of middle value acrylic colors, including French Ultramarine, Burnt Sienna, and Burnt Umber, all lightened with Titanium White. I also painted the sides of the canvas with black acrylic paint.
When this was dry, I started the oil underpainting using water miscable oils. First I established the outlines of the peaches, the plate, and the core and cast shadows using Burnt Sienna. I then painted in the shadows using a combination of Prussian Blue, Terra Verte, and Burnt Sienna. A final step was to lightened the table with a bit of Titanium White.
After a brainstorming session with my classmate Chris, I managed to put together an inexpensive, adjustable still-life stand. My goal was to provide a fairly large tabletop whose height could be easily adjusted. Since I stand when I paint and I’m pretty tall and often paint scenes at eye-level (see this onion painting), it was important that the table could be positioned six feet or more off the ground. I also wanted the ability to clamp on lights and easily hang backdrops. Here’s what I came up with.
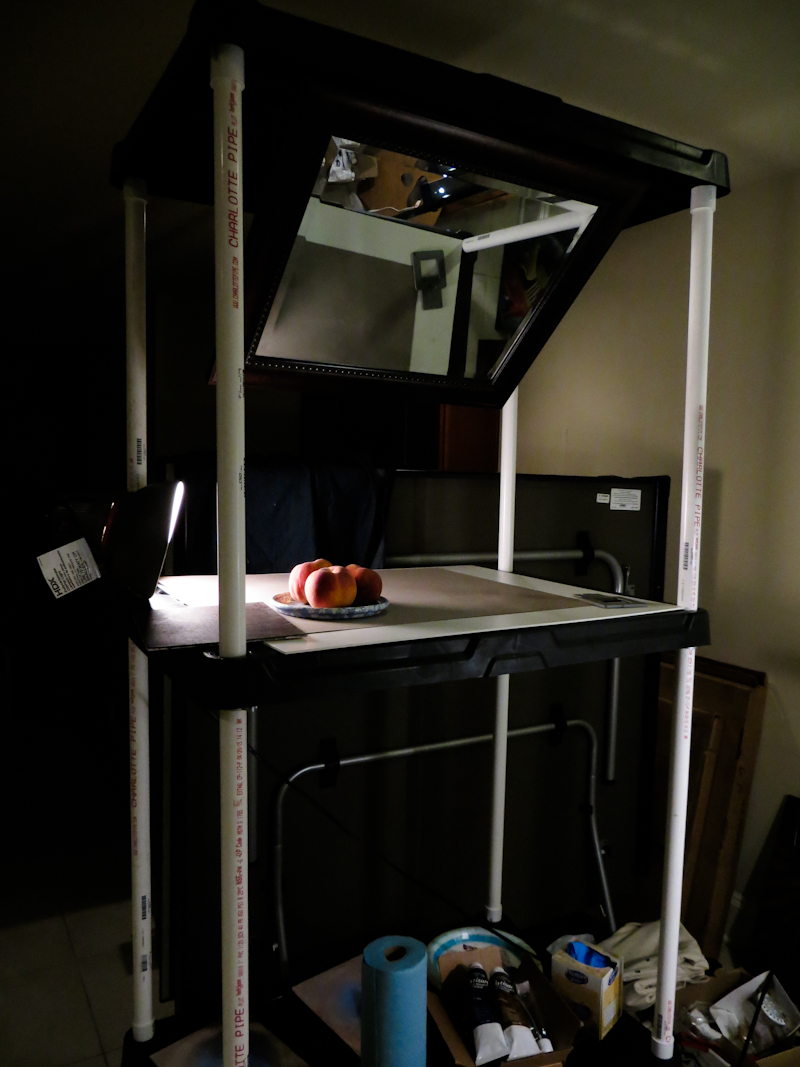
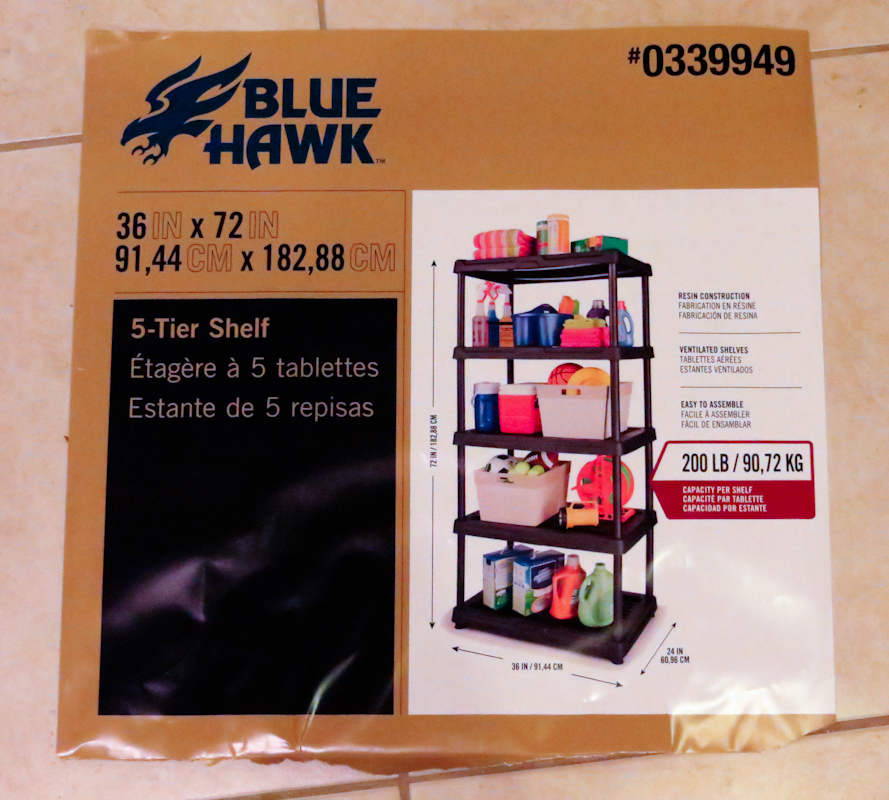
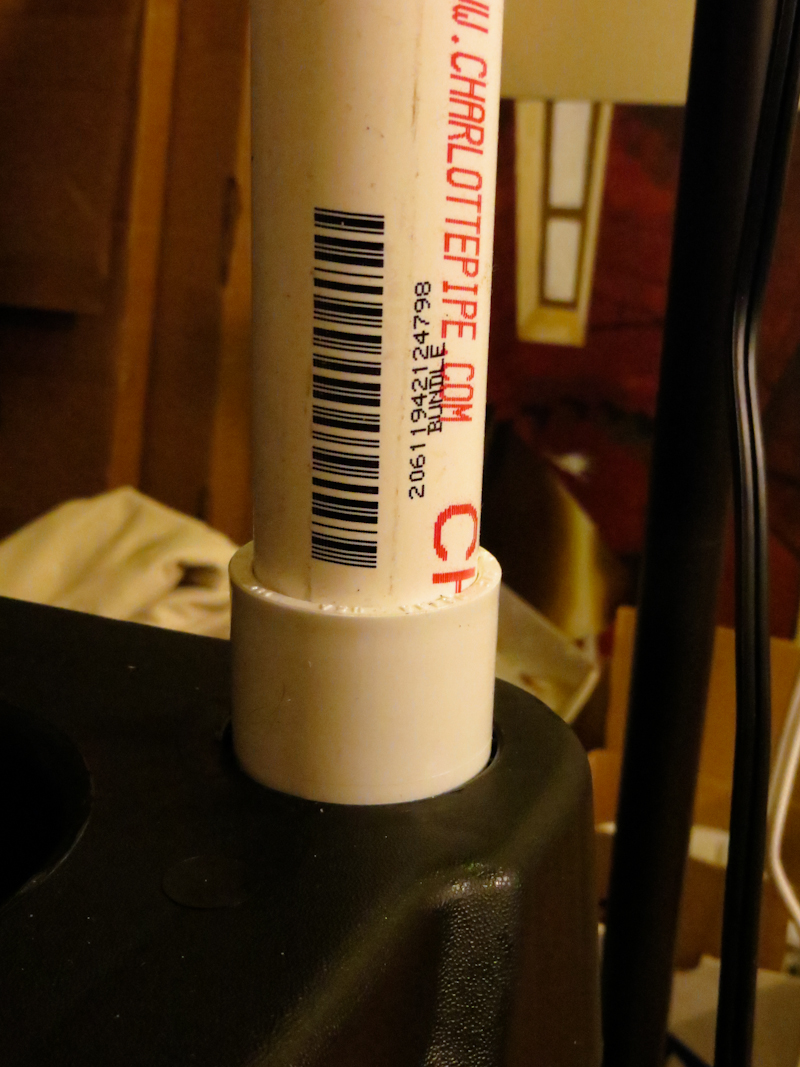
It’s based on a inexpensive plastic shelving unit with PCV pipes replacing some of the risers.
The PVC pipes are small enough that the shelf can slide freely up and down. The shelf rests on pipe clamps that can be loosened and tightened with a screwdriver.
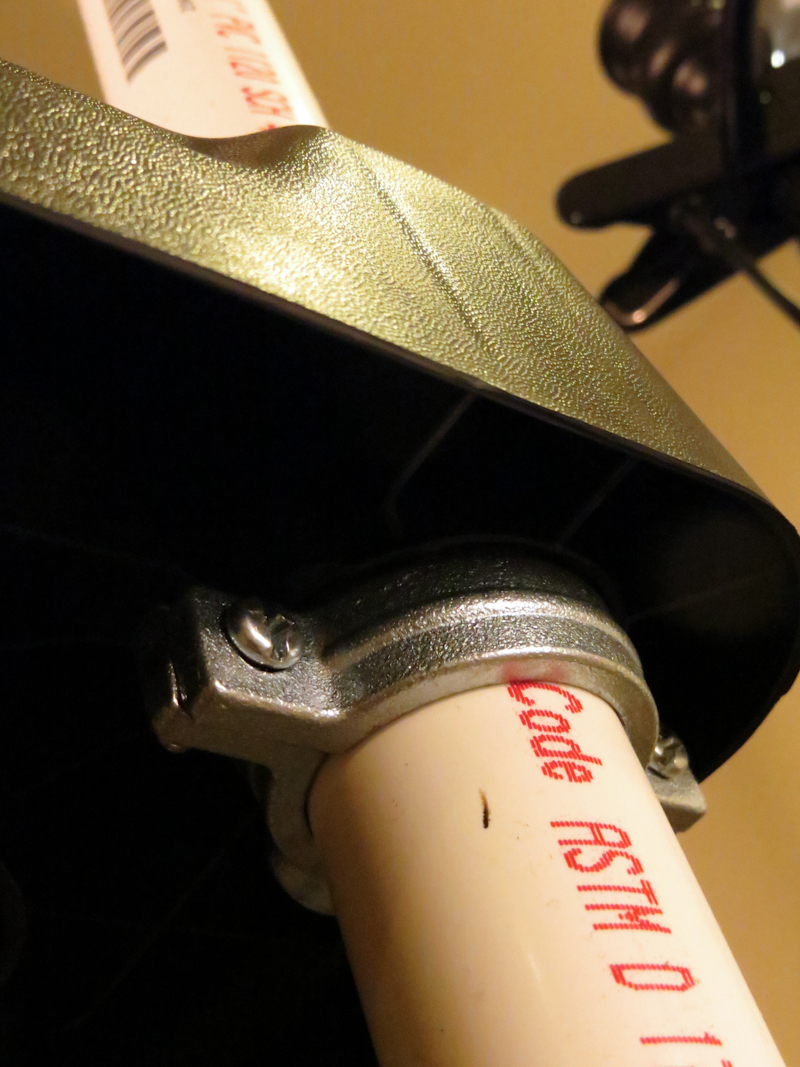
PVC bushings mate the pipes to the fixed shelves.
The system seems pretty versatile and I can easily reassemble it in other configurations.
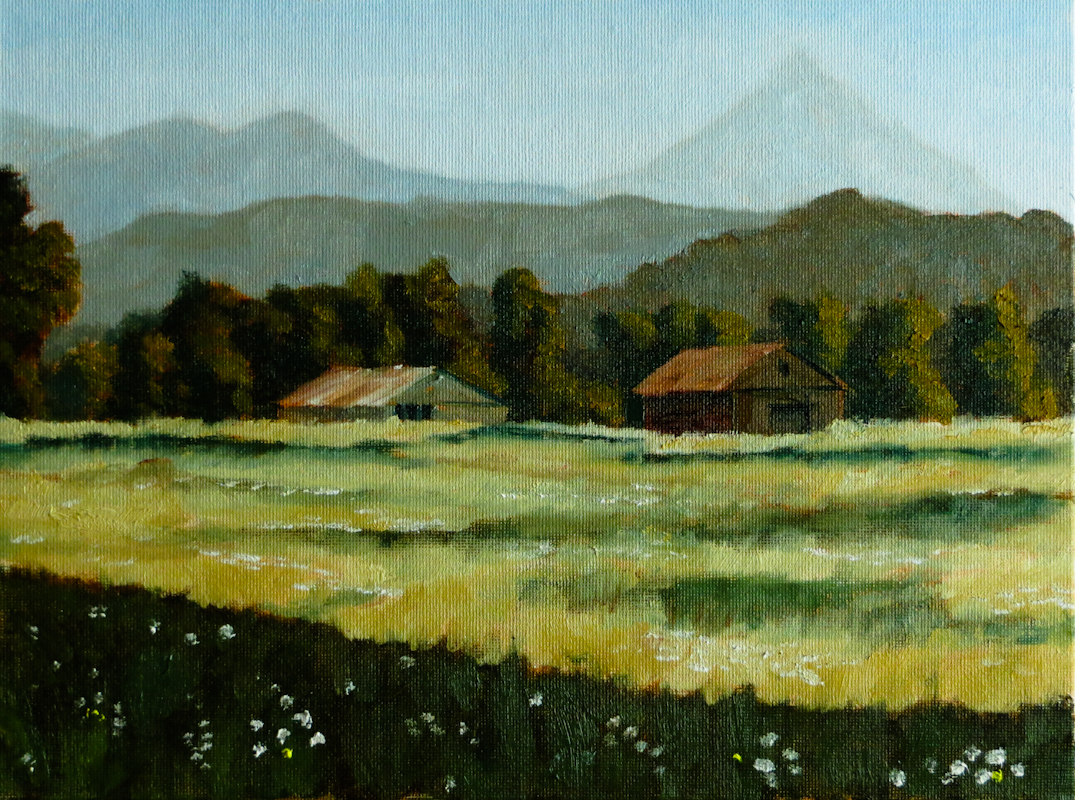
This weekend I attended the Plein Air Washington Columbia Gorge Paintout in Washougal. I chose to set up next to the Fern Prairie Modelers runway, across the street from the transfer station. This is a great location because you can paint right next to your vehicle, there are trees for shade, and restrooms nearby at Captain William Clark Regional Park. The view is looking east into the Steigerwald Lake National Wildlife Refuge.
When I started the under painting around 10am, the sun was in front of me to the right. It was very hot, but also hazy, and the haze was a good thing because it helped to keep the scene from changing significantly over the next 5 hours as I painted. During this time, the sun moved to a position directly to my right, so the main changes in front of me were the snowfields on Mt Hood (it went from back-lit to side-lit) and the form shadows on the near trees. Everything else – the distant hills, the barns, and the foreground meadows stayed pretty much the same.
I spent about 30 minutes on the under painting, using thin Burnt Sienna and then Raw Umber.
As often happens, I found the half-finished painting to be nearly as compelling as the completed piece. I really like the way the Burnt Sienna foreground plays against the Cerulean and Raw Umber in the distant hills.
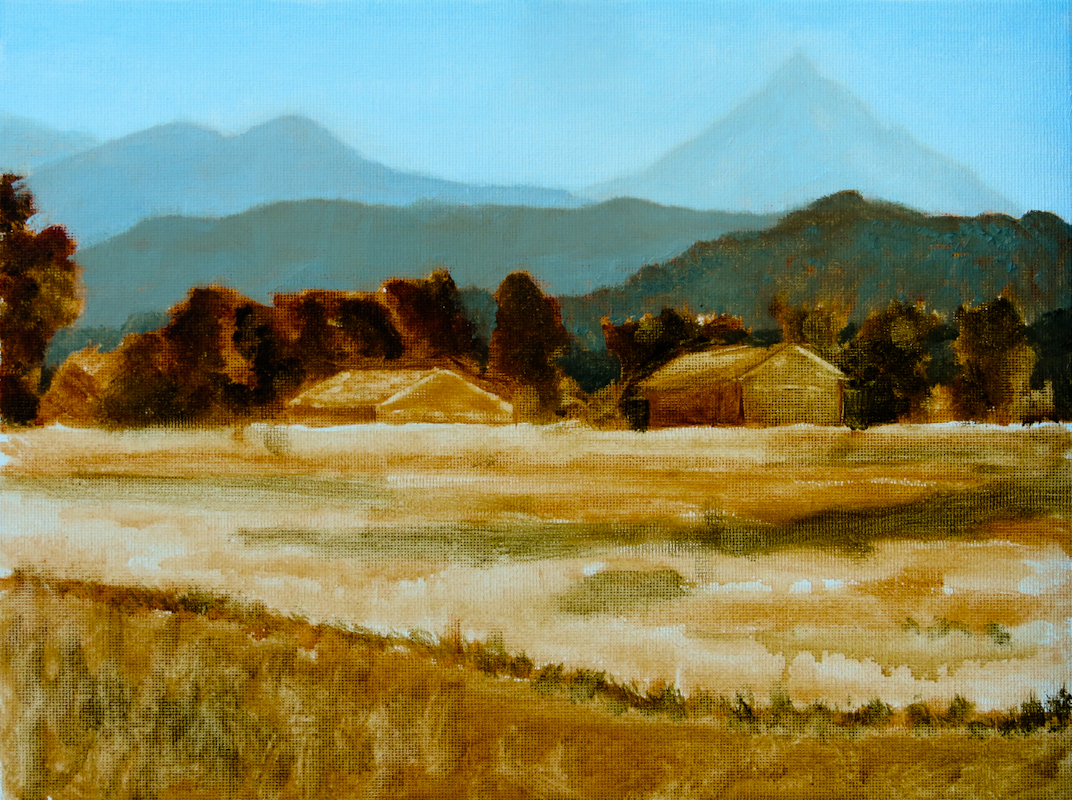
Here’s the finished piece, a 9″ x 12″ canvas panel.
The paintout was a lot of fun and at the end of the day we all met for dinner at the Puffin Cafe, a Caribbean restaurant floating on the Columbia at the Port of Camas. All in all, an excellent trip with lots of painting, interesting people, and great food!
