In December 2011 Don Messec uploaded a pair of videos that demonstrate his direct-to-plate approach for creating ImagOn printing plates. Take a look at Photopolymer Gravure Direct to Plate and Photopolymer Gravure, Direct to Plate: Sun Exposure. I was really excited when I saw these videos because of the opportunities to make really large plates at lower cost. Let me explain.
The approach that Don demonstrates combines three key ideas:
- Printing directly to the unexposed ImagOn plate.
- Incorporating a digital stochastic screen into the image file.
- Using only black ink to create a pattern of dots that reads as gray scale.
The first idea saves time and money by eliminating the the positive transparency. Instead of printing to transparency film which will be used for the exposure, one simply inserts the unexposed ImagOn plate into the printer.
The idea becomes much more powerful when a digital stochastic screen is incorporated into the image file. If the image file doesn’t incorporate the screen, one must first expose the plate with an aquatint screen before printing the image onto the plate. Aquatint screens are expensive and to get a good aquatint matrix, you really need a vacuum frame to hold the screen in close contact with the plate and high wattage point source light for the exposure. It is still fairly easy to find used platemakers like the NuArc 26-1K, but the 26″ square vacuum frame limits the plate size. When printing a stochastic screen directly onto the plate, one eliminates the need for a vacuum frame because the ink is already in direct contact with the plate.
The third idea of printing the gray scale image using only black ink reduces exposure time sensitivity to the point where one can get repeatable results from sunlight. When exposing with gray scale, it is necessary to nail the exposure within about a half of an f-stop and this is hard to do without using a light integrator. When the image consists only of high density black dots, the exposure latitude increases greatly because any exposure that hardens the unprinted emulsion without hardening the printed emulsion will work. This increase the exposure latitude makes solar exposures feasible and in combination with the first two ideas allows one to eliminate the platemaker, vacuum frame and aquatint screen along with many of the limitations they impose on plate size and cost.
Now let’s take a look at digital stochastic screens. Suppose you have a gray scale image like the one below.
If you have Adobe Photoshop it is easy to translate the gray scale to a black and white dither pattern that reads as gray scale but provides the small ink wells needed to avoid open bite. One way to do this is
- Use Image -> Adjustments -> Curves to compress the densities so that black translates to about 80%. The reason for this step is that even the darkest black still needs to incorporate a scattering of white dots in order to avoid an open bite. You will need to experiment to find the exact maximum density for the curves adjustment. One way to do this is to make a plate based on a gradient from 0 to 100% and then pick the density where black first appears.
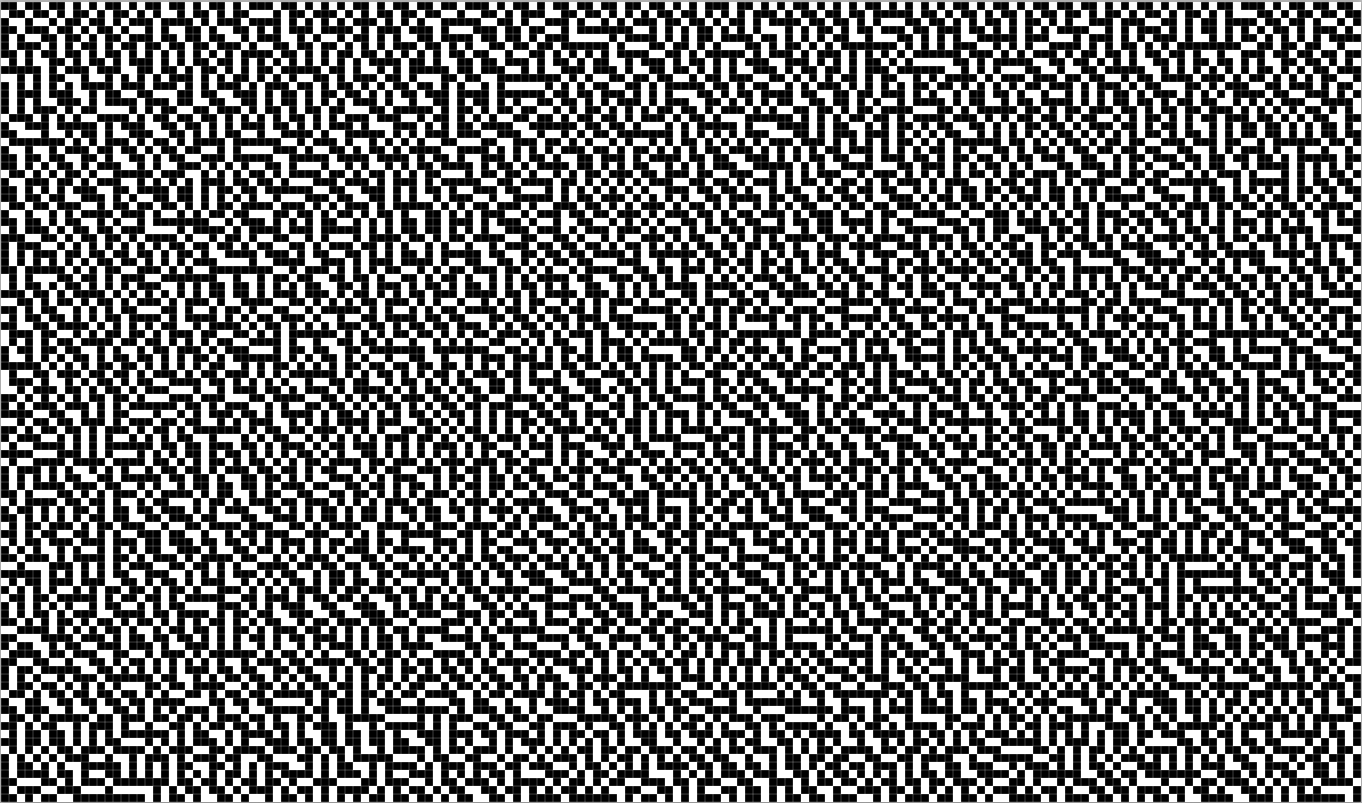
- Use Image -> Mode -> BitMap with the “Diffusion Dither” method to convert the gray scale image into a black and white image based on a random dot pattern similar to the dots in an aquatint screen.
- If your printer supports black-only printing, you are in luck and can proceed to print directly to the plate.
- If your printer doesn’t support black-only printing in the factory driver, you can use a third party driver like the one in QuadToneRip (Windows) or IceFields (Mac) to print black only. If you use a low enough image resolution and the resolution evenly divides into your printer resolution, you may also be able to get away with normal printing since the printer will mainly use black ink.
The result will be a plate with wide exposure latitude, suitable for solar exposure.
I am also interested in a middle ground that gives me better resolution and tonality while eliminating the the vacuum frame and aquatint screen. The tradeoff is that I will still have the narrow exposure latitude of a gray scale image. I think I can manage this exposure sensitivity by using the light integrator in my exposure unit or building my own light integrator for solar exposures.
Here’s my thinking. I will first create an digital aquatint screen as follows:
- Create a “grayscale” image with the same dimensions as my artwork.
- Fill the entire image with 80% gray.
- Convert the “grayscale” image to a bitmap using diffusion dither.
Then I will incorporate the aquatint pattern into to my artwork as follows:
- In my artwork, add a new “Normal” layer with 100% opacity and fill and then add a layer mask.
- Paste the aquatint bitmap pattern into the layer mask.
- Fill the layer itself with white.
The resulting image still has the aquatint structure, but it more closely mimics the light patterns created by the dual exposures of an aquatint screen followed by an image. In this plate, the depth of each ink well is based on the density of the original image. My expectation is that this approach will give me better tonality and more detail in the lighter shades. Note that this approach does not require a special driver from QuadToneRip or other packages because it uses all shades of gray.
If I am willing to accept the narrow exposure latitude associated with gray scales, I can use this same technique in conjunction with Mark Nelson‘s Precision Digital Negatives approach. Here’s the workflow:
- Determine the correct ink color mixture using PDN as normal.
- In the artwork, add a “Screen” layer with 100% opacity and fill.
- Fill this entire layer with the PDN color.
The result will be an image like the one below.
Stay tuned for the results of my experiments.





For these steps:
In my artwork, add a new “Normal” layer with 100% opacity and fill and then add a layer mask.
Paste the aquatint bitmap pattern into the layer mask.
Fill the layer itself with white.
Since you are not actually using the transparency created by the black pixels in the layer mask, it would be faster to just paste the bitmap pattern to a new layer and then use any of the blend modes that drop out black (starting with Screen).
http://help.adobe.com/en_US/photoshop/cs/using/WSfd1234e1c4b69f30ea53e41001031ab64-77eba.html
Great suggestion, Trish!