I’ve been wanting to create prints of my notan studies for holiday cards and gifts. The 8×10 linoleum plates were promising, but a little large for gifts. When I tried carving a plate at notecard scale, I found that too much detail was lost. Thus began my adventure in making prints from photopolymer plates. These are metal plates that are coated with a light sensitive polymer that hardens when exposed to ultraviolet light.
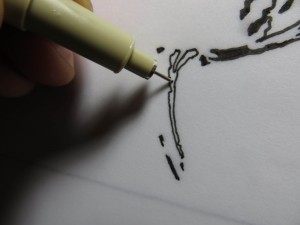
The first step in making a photopolymer plate is to create a negative image on a transparent or translucent material such as vellum or Duralar. I prefer vellum because it doesn’t smudge and it works well with gouache. You can also use markers or an ink jet printer. When the plate is exposed, the white portions of the negative will allow light through and this will harden the polymer. The black portions of the negative will block light, resulting in uncured polymer that can be rinsed away.
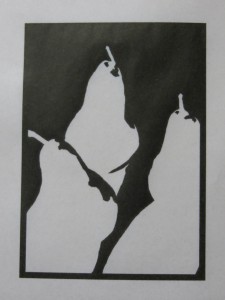
Here’s the finished negative. One interesting difference from linocut is that the negative is not a mirror image that is flipped left to right.
The negative is placed with its painted surface facing the photopolymer plate. The plate and negative are sandwiched between a piece of glass on the top and a rubber mat and a masonite board on the botton. The entire stack is clamped together tightly. The rubber mat helps ensure that the negative and the plate stay in close contact across the entire surface.
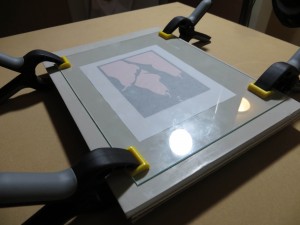
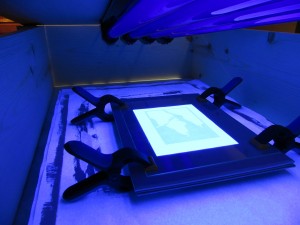
In preparation for exposure, I have created a sandwich of masonite, rubber, photopolymer plate, negative, and glass.
I expose my plates in a home-made black light chamber. After doing a number of test strips, it seems like exposure times from three and a half to four and a half minutes are good.
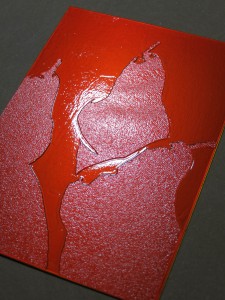
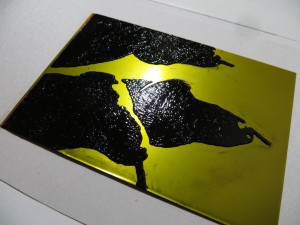
Plates are developed in tap water and then exposed a second time to cure. Here’s the first plate after development. It turns out I didn’t develop it long enough, so there is still polymer in the white areas. This plate had about a quarter of a millimeter of relief and was very hard to ink without fouling the whites.
I pulled a couple of proofs from the first plate and had so much difficulty that I went back to the drawing board and eventually figured out that my first plate wasn’t fully developed.
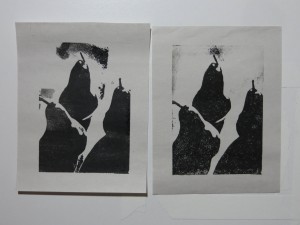
These prints are from the underexposed plate. This plate does not have enough bite, so it was nearly impossible to keep the ink out of the white areas, especially near the stems.
My second plate used a shorter exposure and longer development. I rinsed and scrubbed for almost ten minutes until all of the polymer was removed from the whites. In solving the problem with the whites, I created another problem as the blacks became erroded and pitted during the longer development time. I will probably need to make a third plate with longer exposure and longer development.
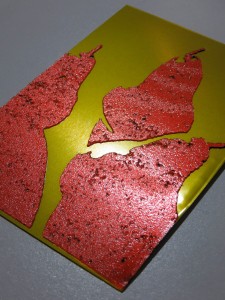
This plate was exposed for three and a half minutes and then developed until all of the photopolymer was removed from the white areas. The longer development time led to some erosion in the black areas, so I will need to increase the exposure for the third plate.
The second plate has about 1 millimeter of relief and is much easier to ink. The stems are still hard to ink because it is easy to tilt the roller into the whites. My third plate will include a border all the way around to help hold the roller level. This border will print black, but I can cut it away after printing.

